• Home
  • About
  • LIFE
  • HOME
  • FOOD

The . Thome . Home .

Life Lately

June 23, 2016 by Abby Thome

Life Lately

Oh the crickets on the blog this week.

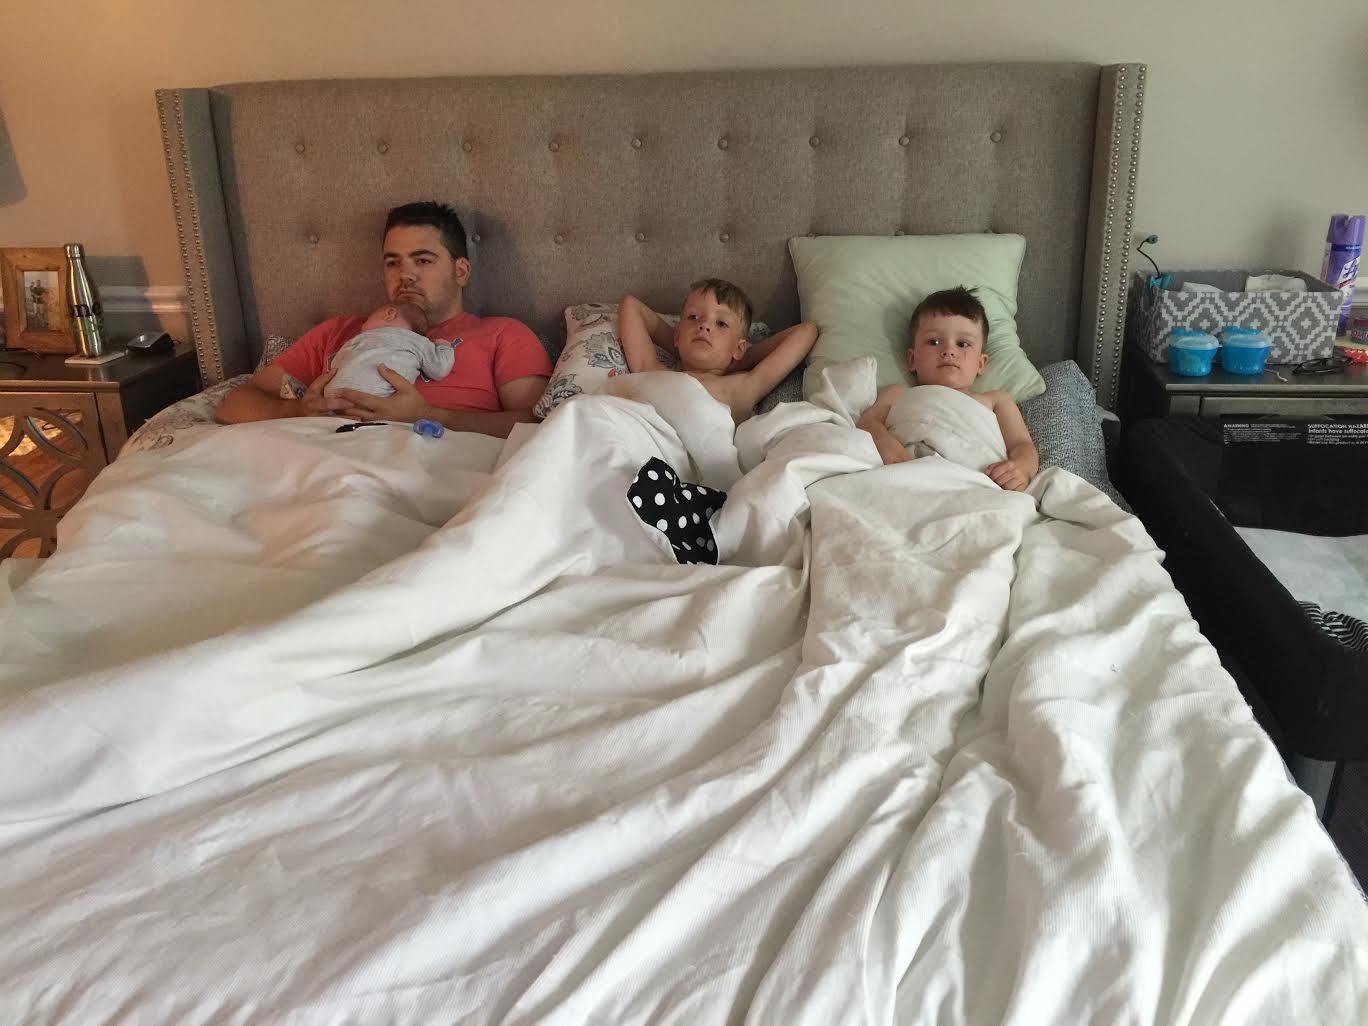
I’ve sat down with my computer nearly 25 times since last Saturday, with a fussy babe on my lap and two big brothers running around.  You know, this whole balancing life + work as a “stay at home mom” isn’t as easy as it sounds.  I feel so lucky to be home with the kids – yet I hope that someday I can find balance where I can find an hour or two carved out of the day for my “work”.

I think it’ll be a lot easier with the school year around the corner.  Brody is obviously in school all day, Owen half day every day – so when Max naps (fingers crossed) the clock will be on my side!

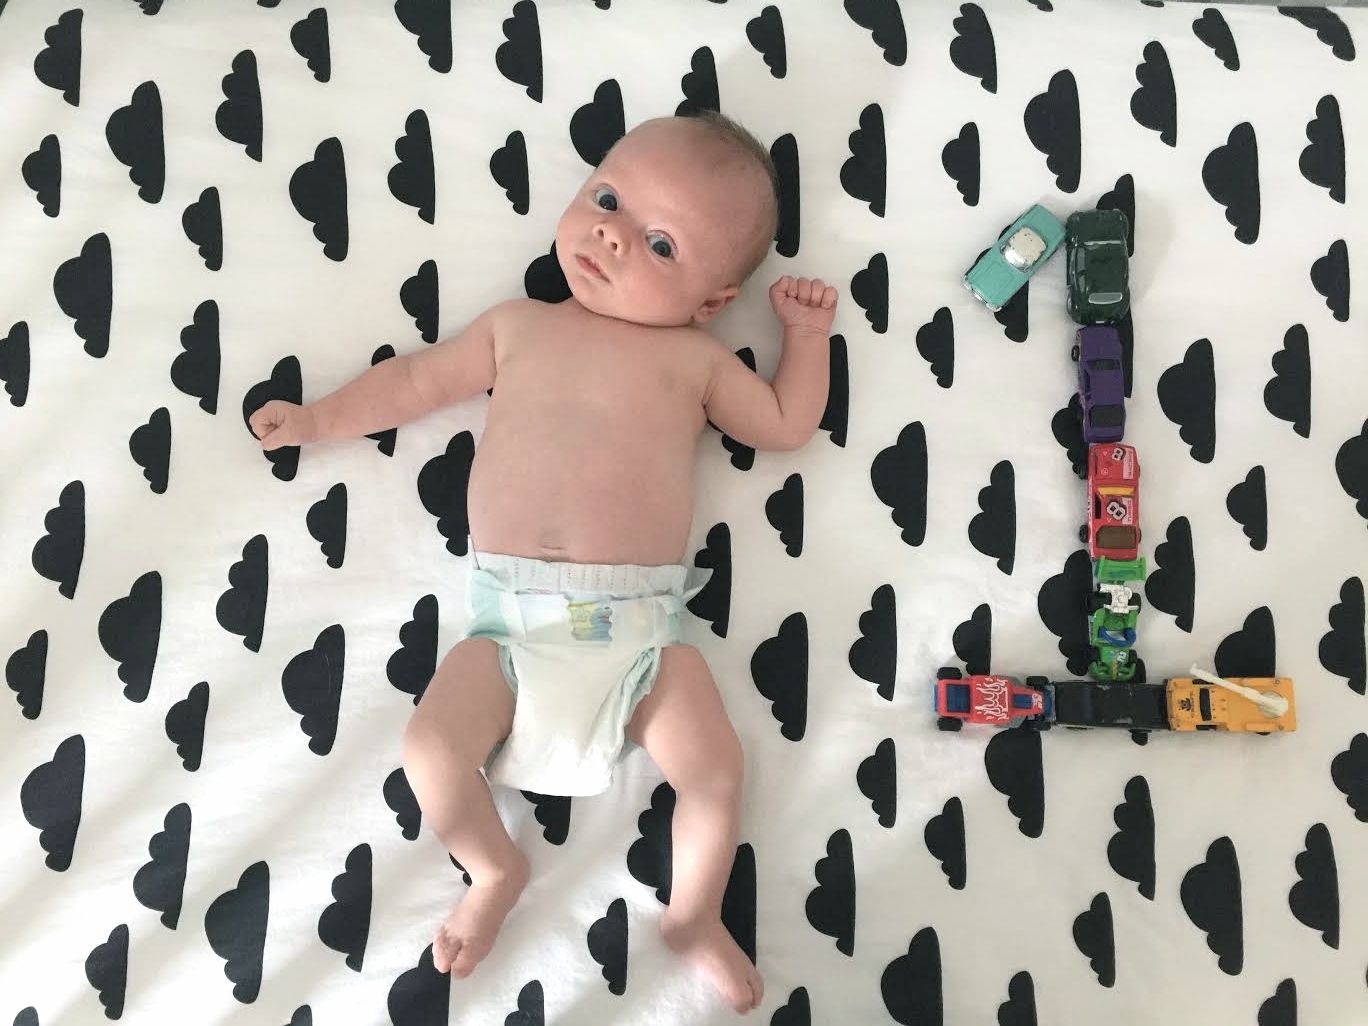
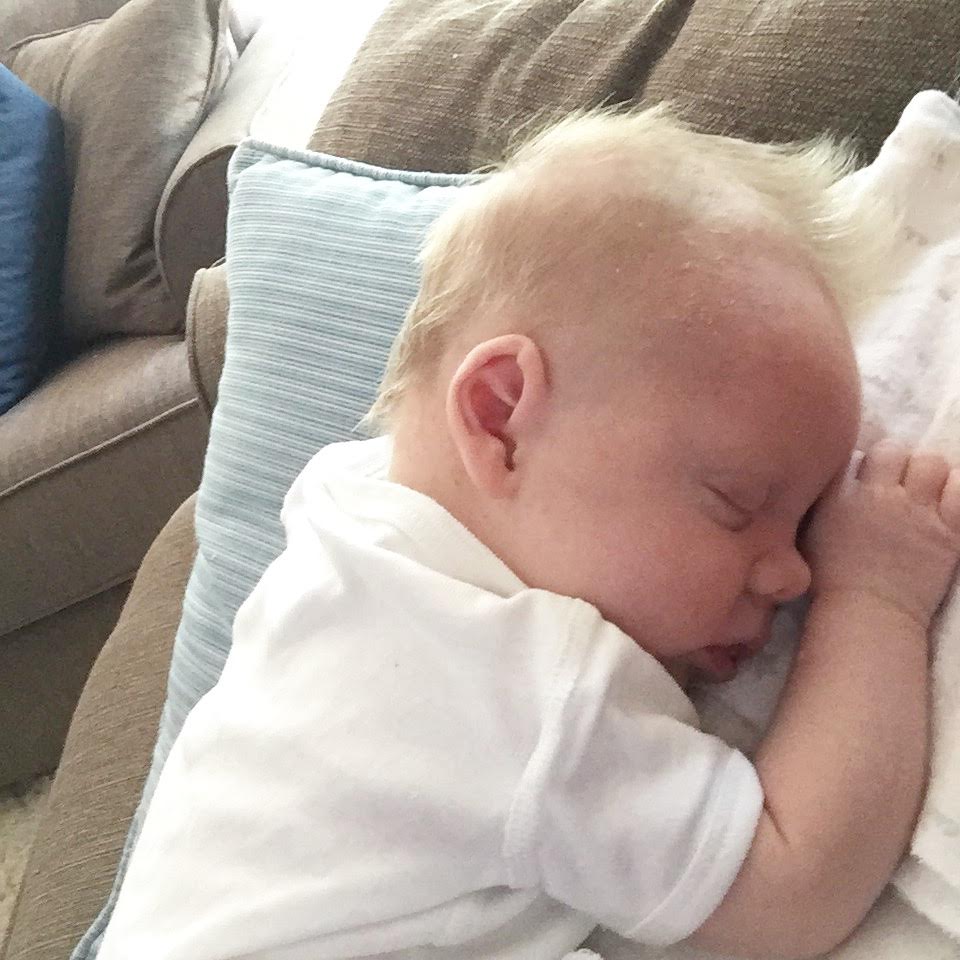
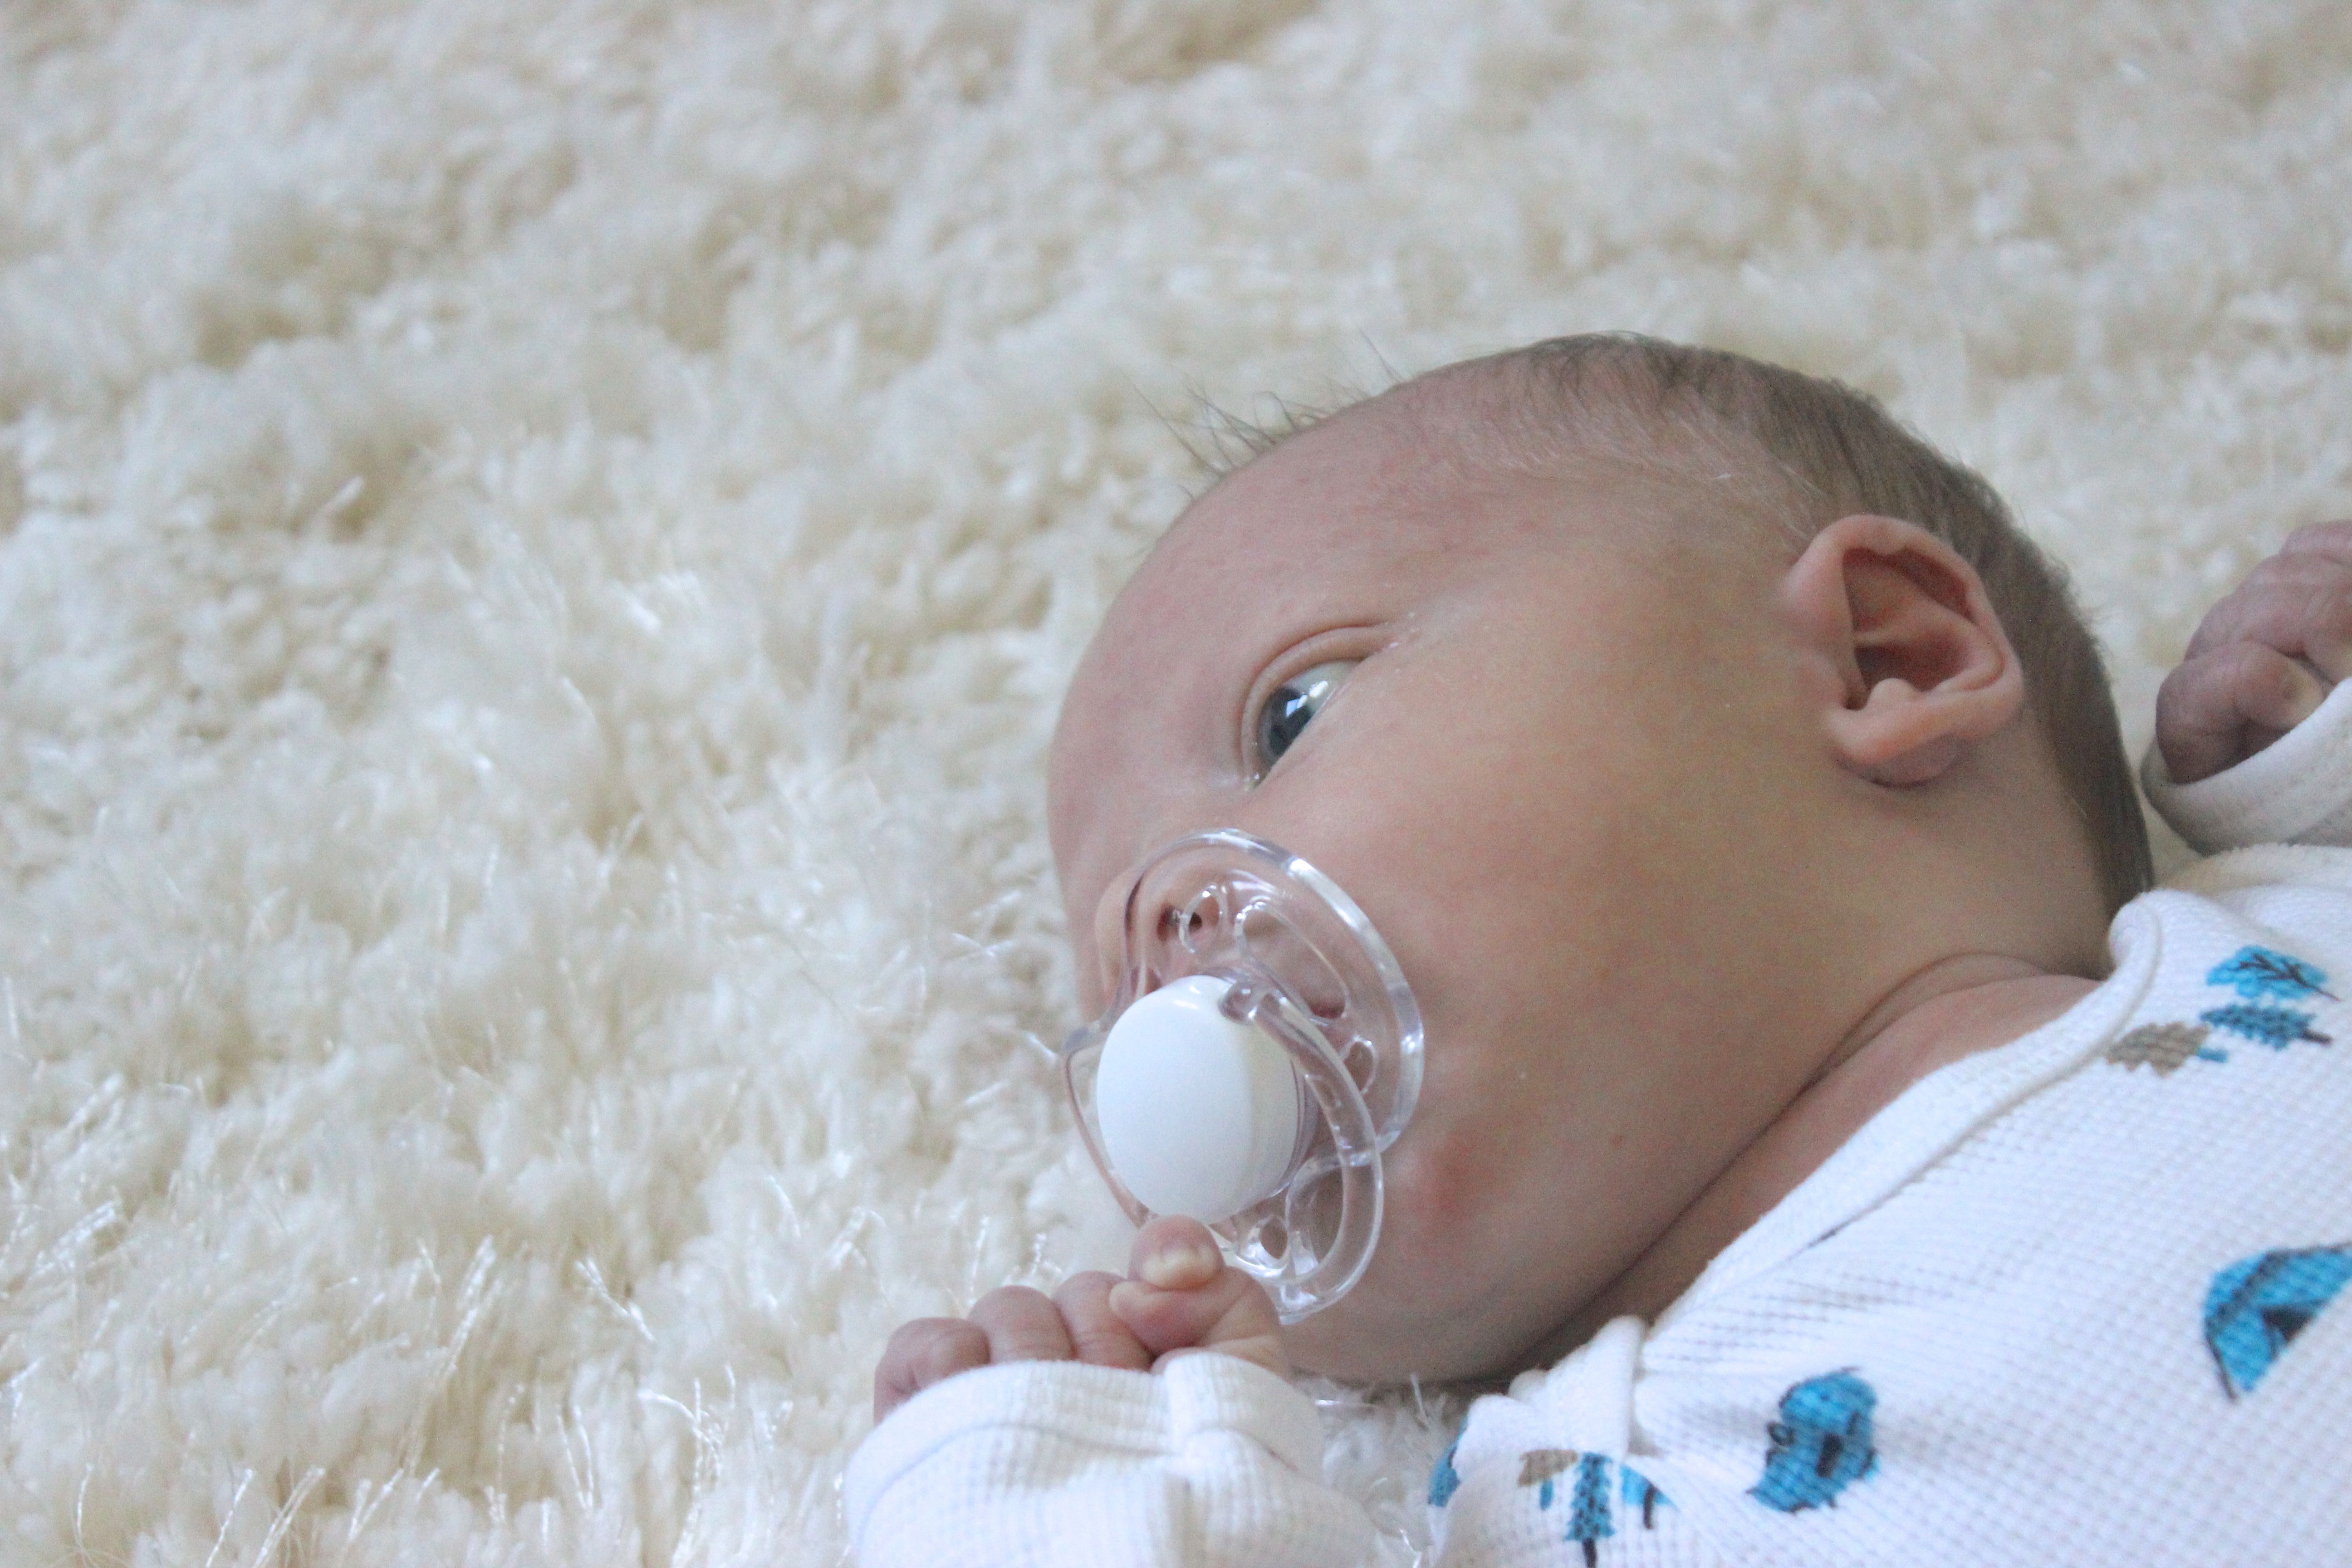
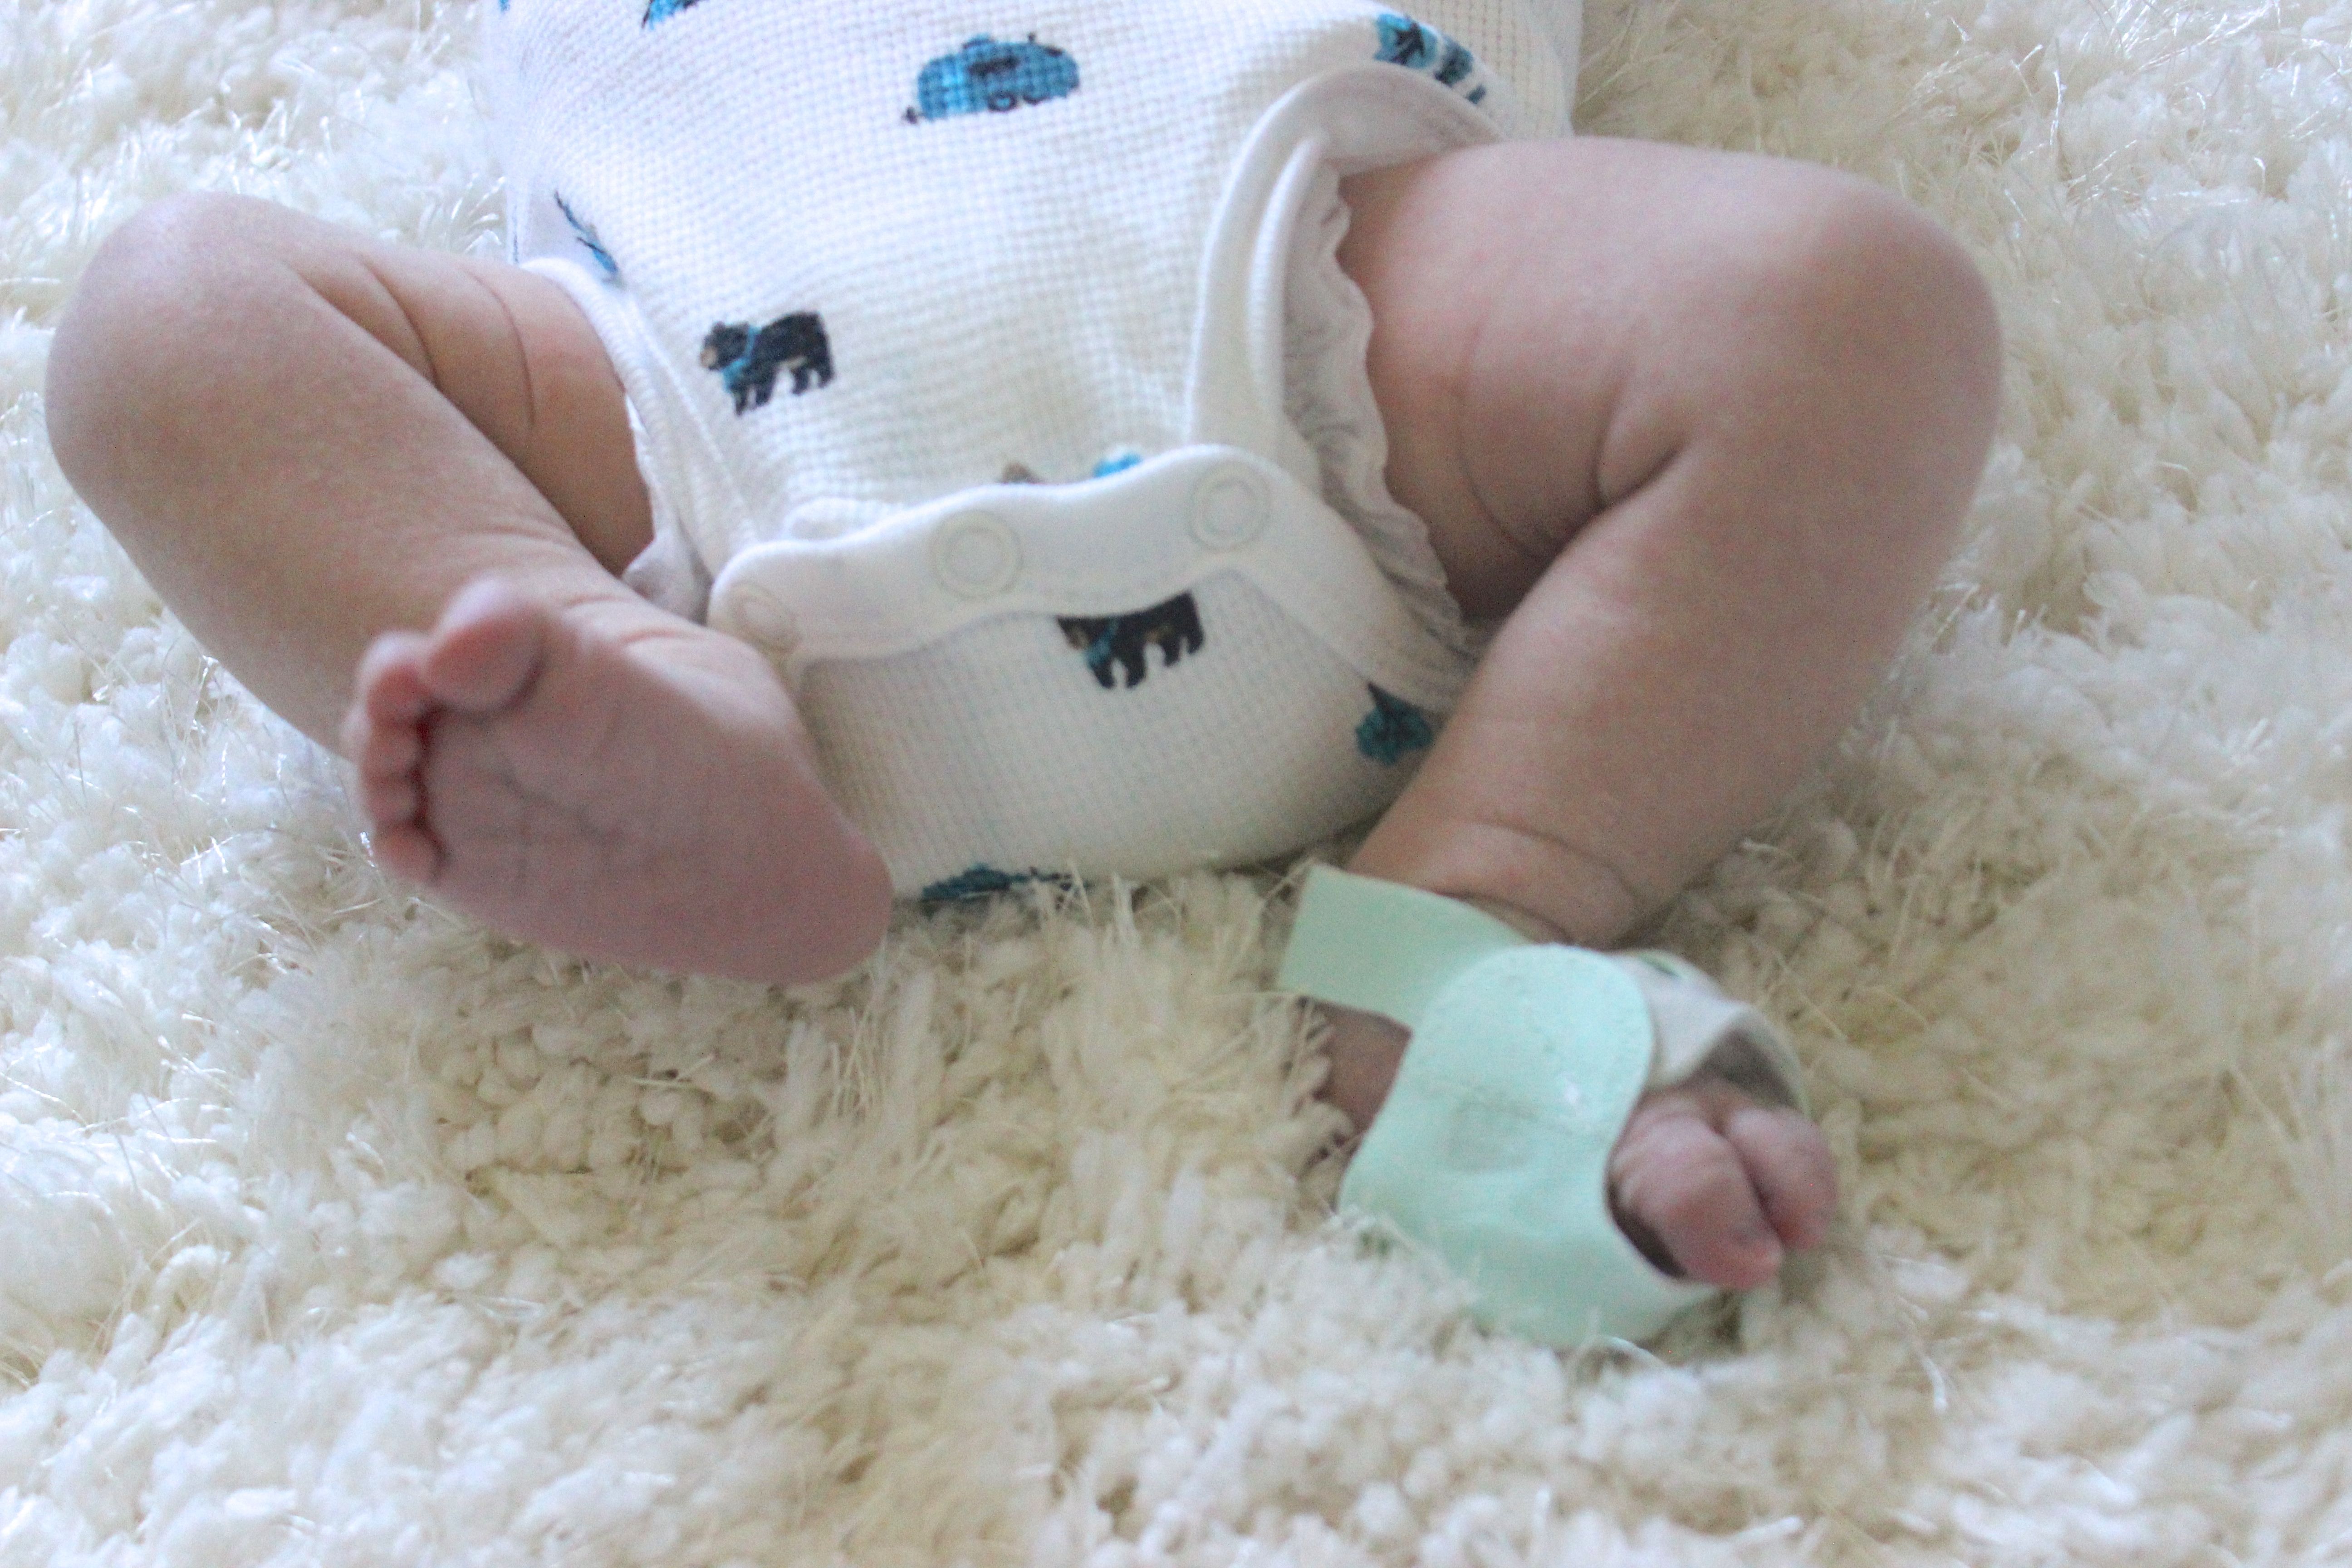
Sweet Max has grown to be excessively fussy the past few weeks.

unnamed-141

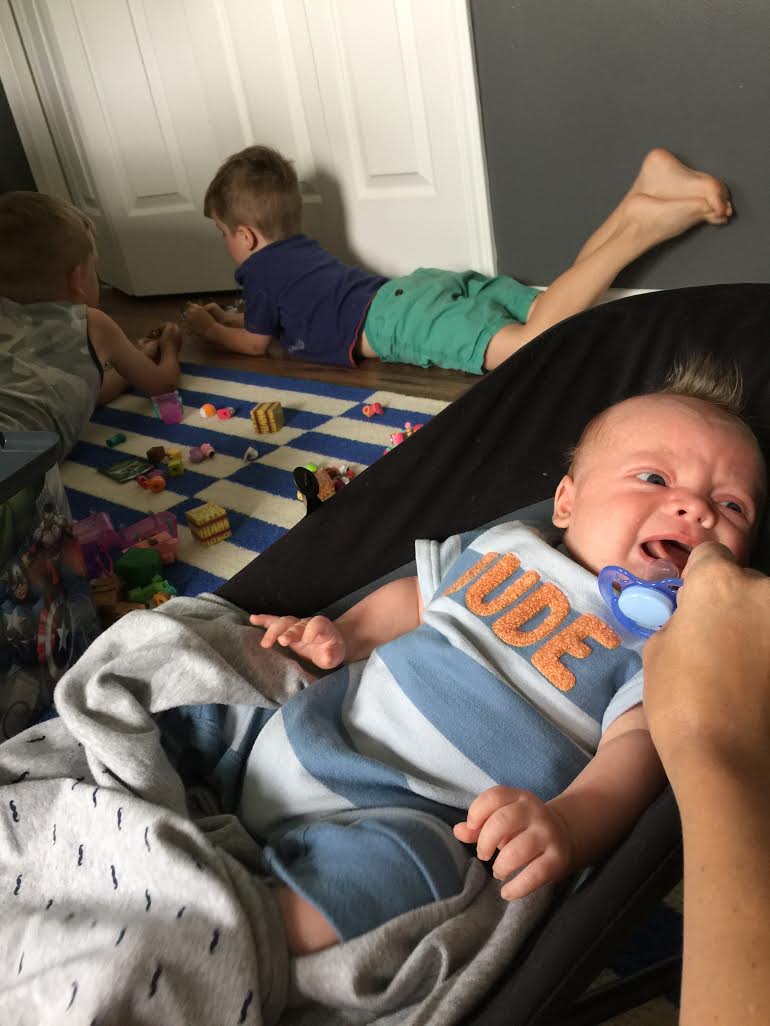
My legs are getting a work out from all of the walks, bouncing and swaying I do all day everyday.  My arms by the end of the night have grown to be so tired, as putting him down isn’t really an option – he naps for 15 minute increments or an errand (which how many errands can a chick run??)

ONE thing we have learned that Max loves – being outside.

You guys, literally you step outside and he sighs and falls right asleep or will comfortably sit without crying.  It’s amazing.  So we quickly have adapted our life to hang outside, go to playgrounds and talk walks — all. the. time.  Thankfully our city has playgrounds left and right, giving us plenty of variety to switch things up for the big boys.

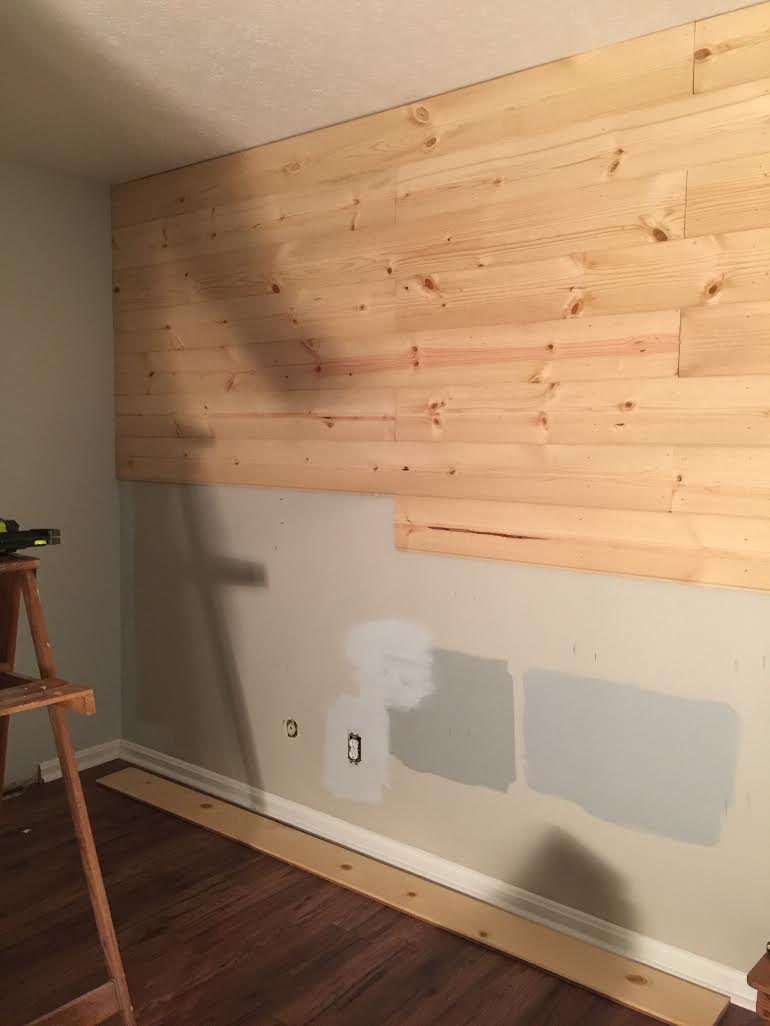
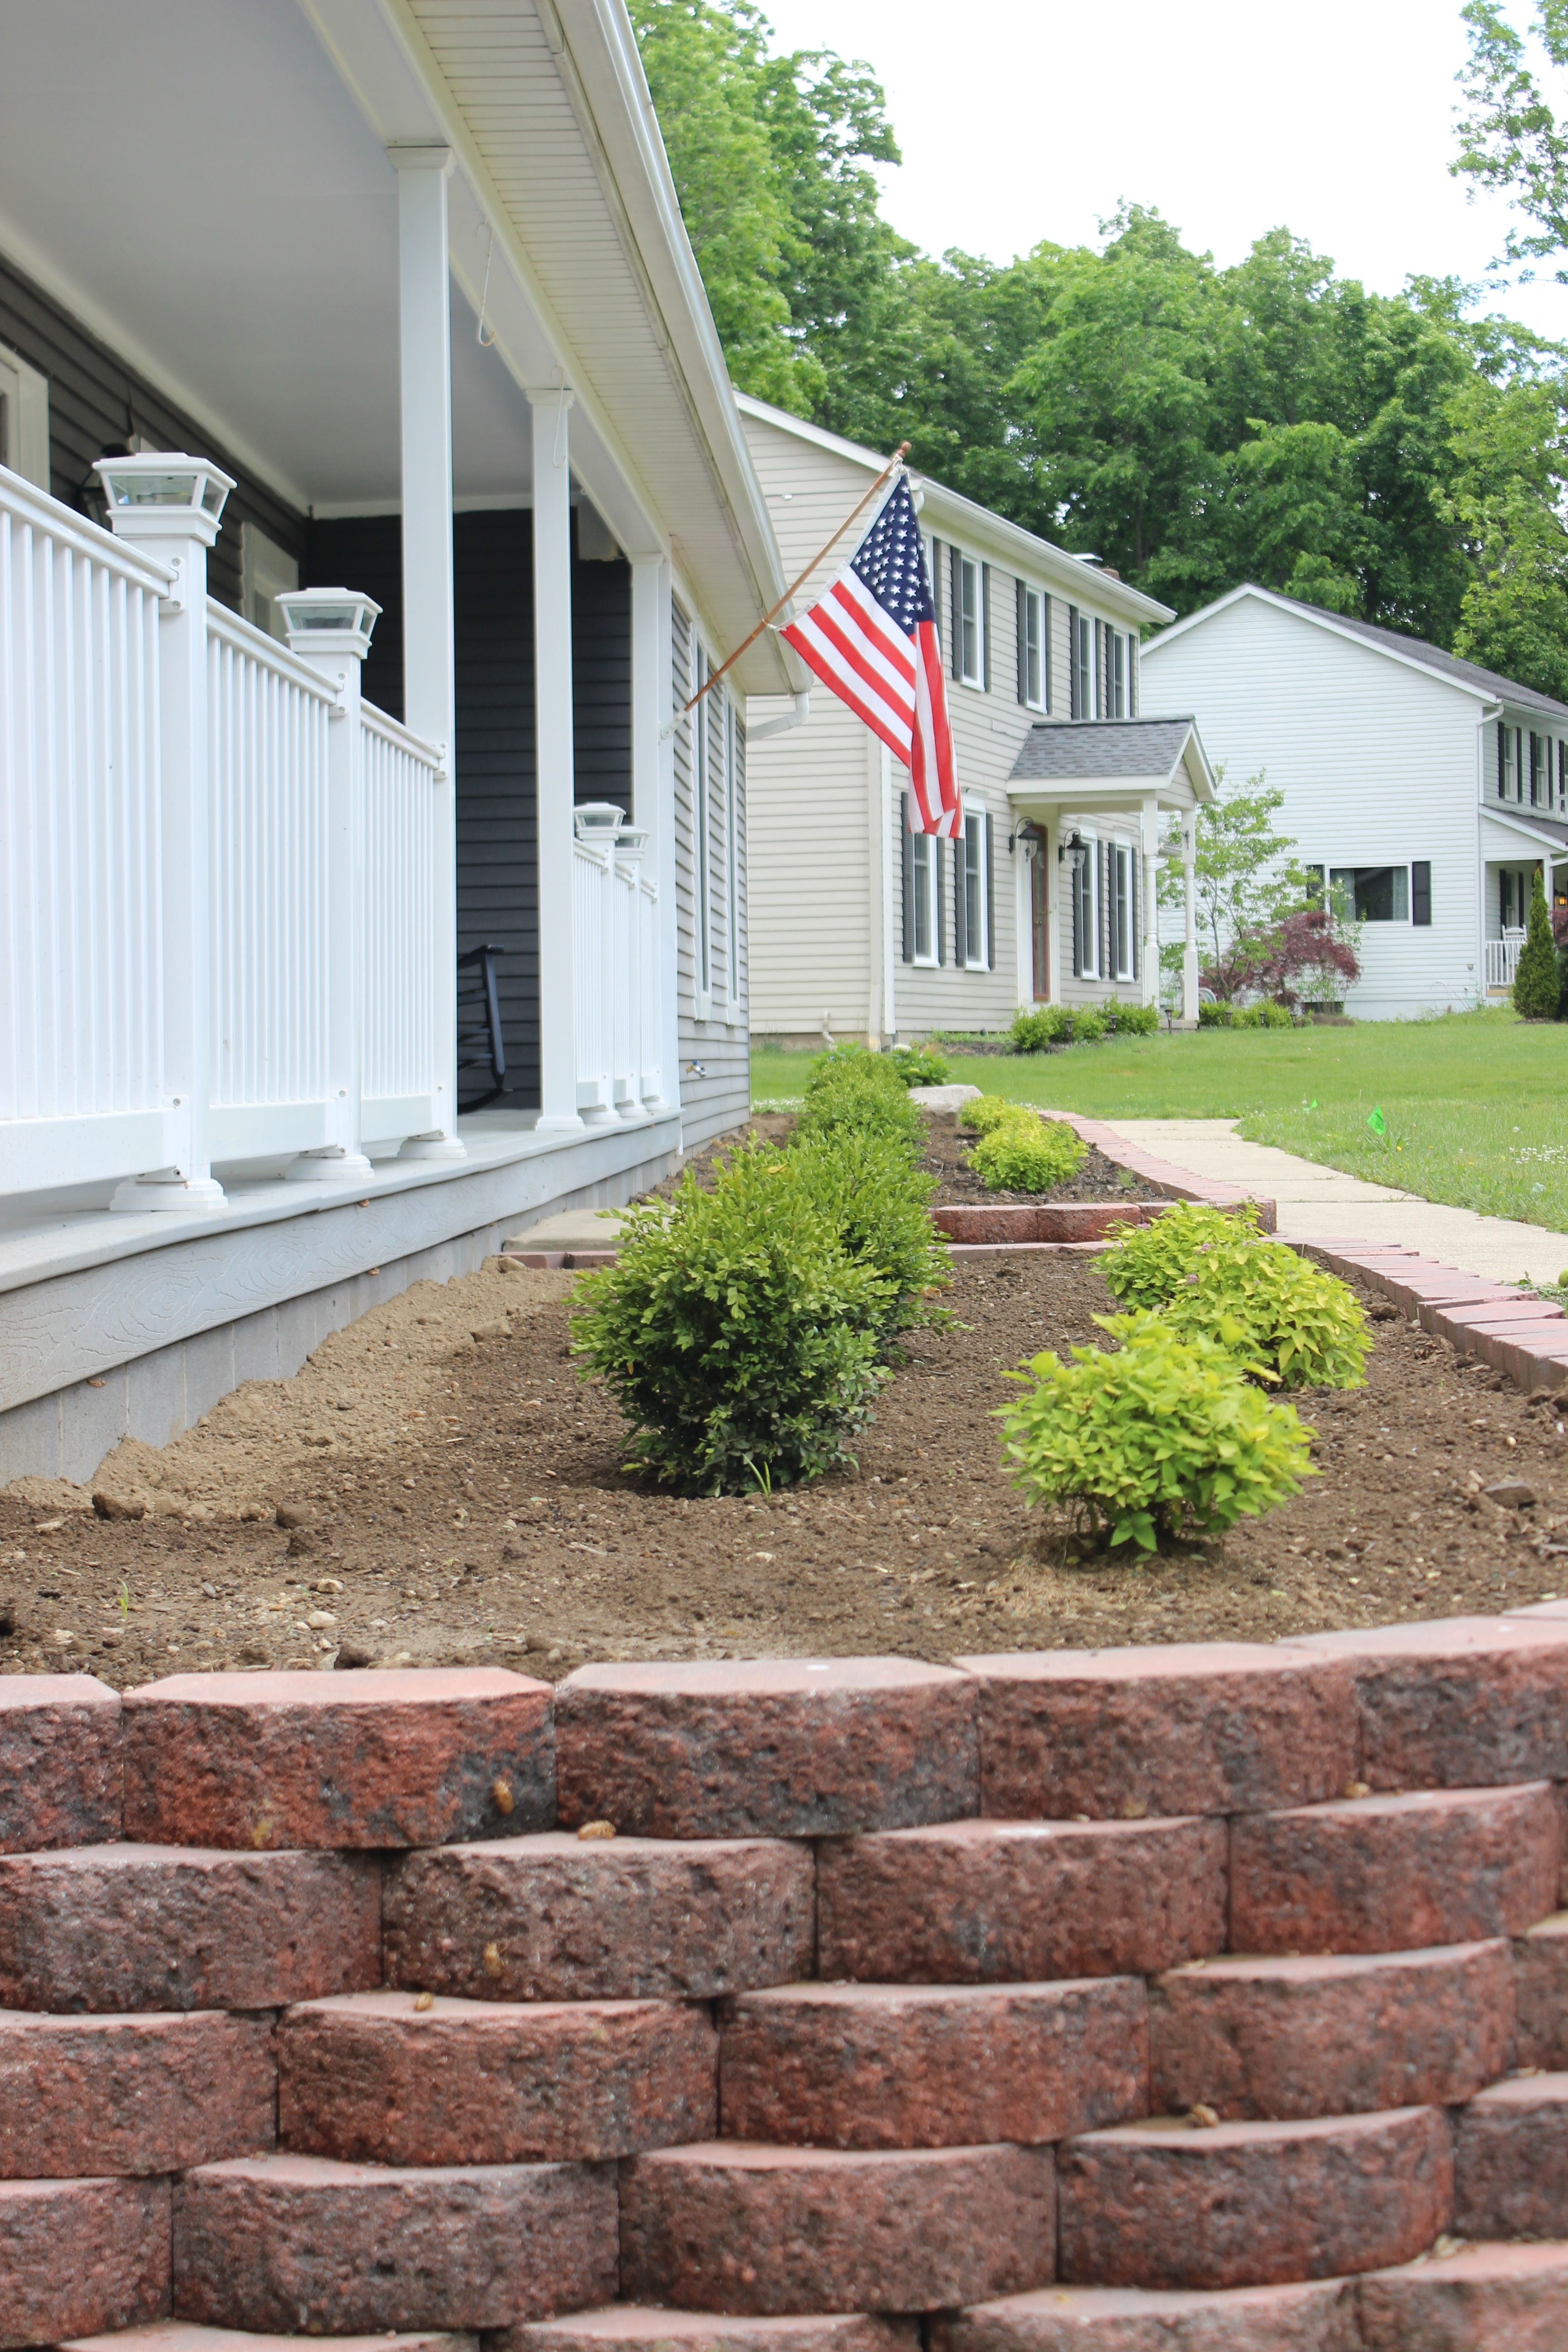
I hate to even follow these paragraphs with an “I’m sorry things have been so dull around here” I miss my old blog posts where I talk about everything and anything.  I miss having a ton of delicious recipes to share and home projects to show.  But the truth is I’ve got 6 paint swatches painted on my walls downstairs.  Countertops half painted because I screwed them up (yes, diy bloggers screw up too) and the boys bedrooms are still being organized two weeks later.

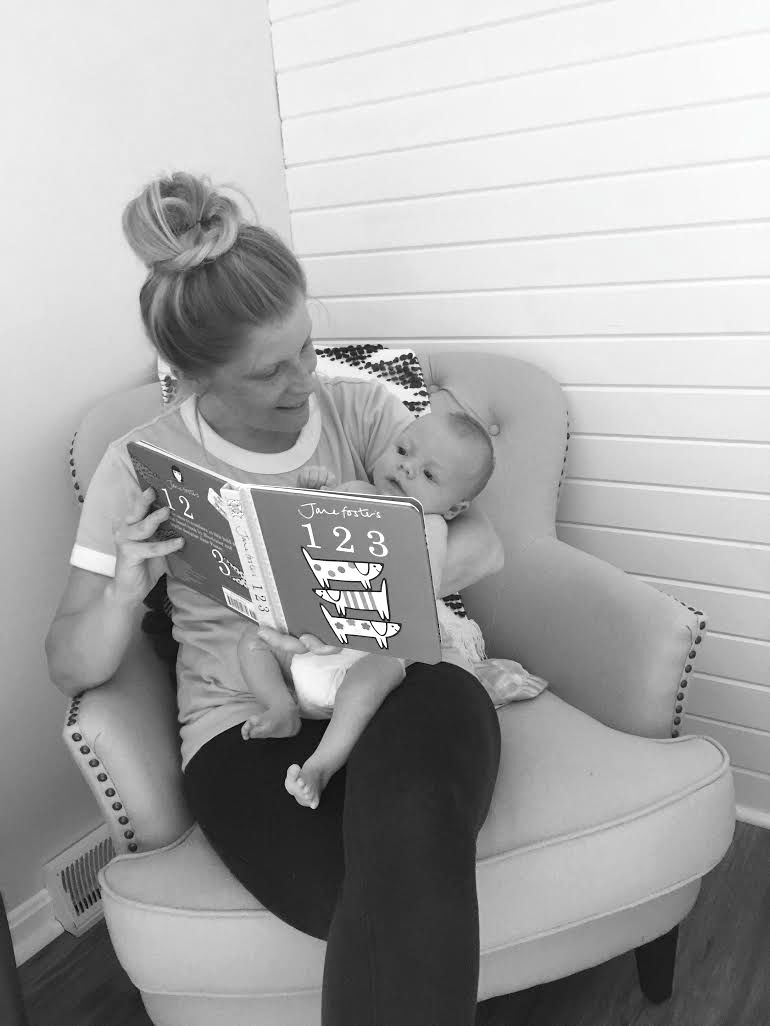
Surviving this life of 3 – life with a fussy babe has taught me one thing.  Take one day at a time.  Wake each day with an optimistic outlook.  Roll with the punches.  The dishes and laundry can wait, the house may not be all that clean, but the chaos will soon pass.  This newborn stage is so sweet, and if you’ve got a fussy one it’s not for the faint of heart.  I’m giving myself a rain check on all others things that shouldn’t matter as much.  Making sure my boys are happy and Dan and I are as well is top priority.

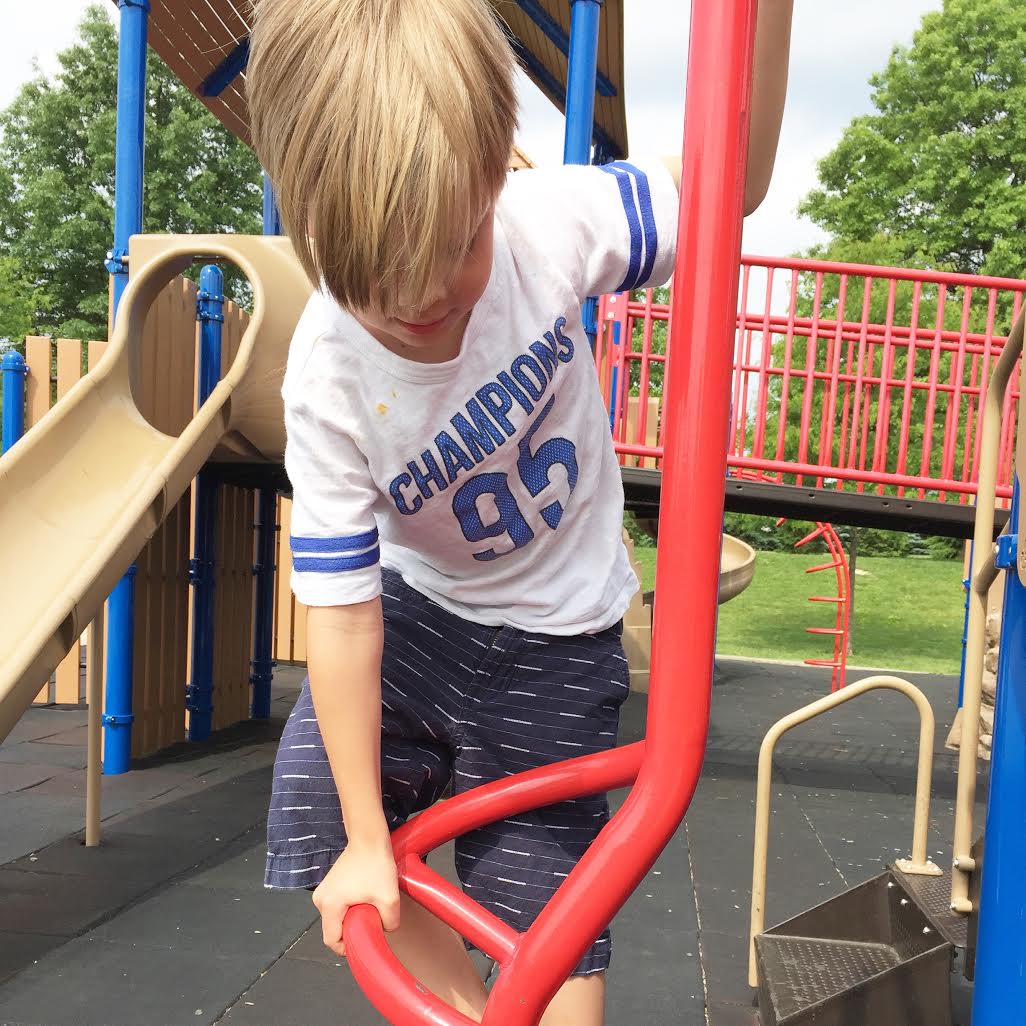
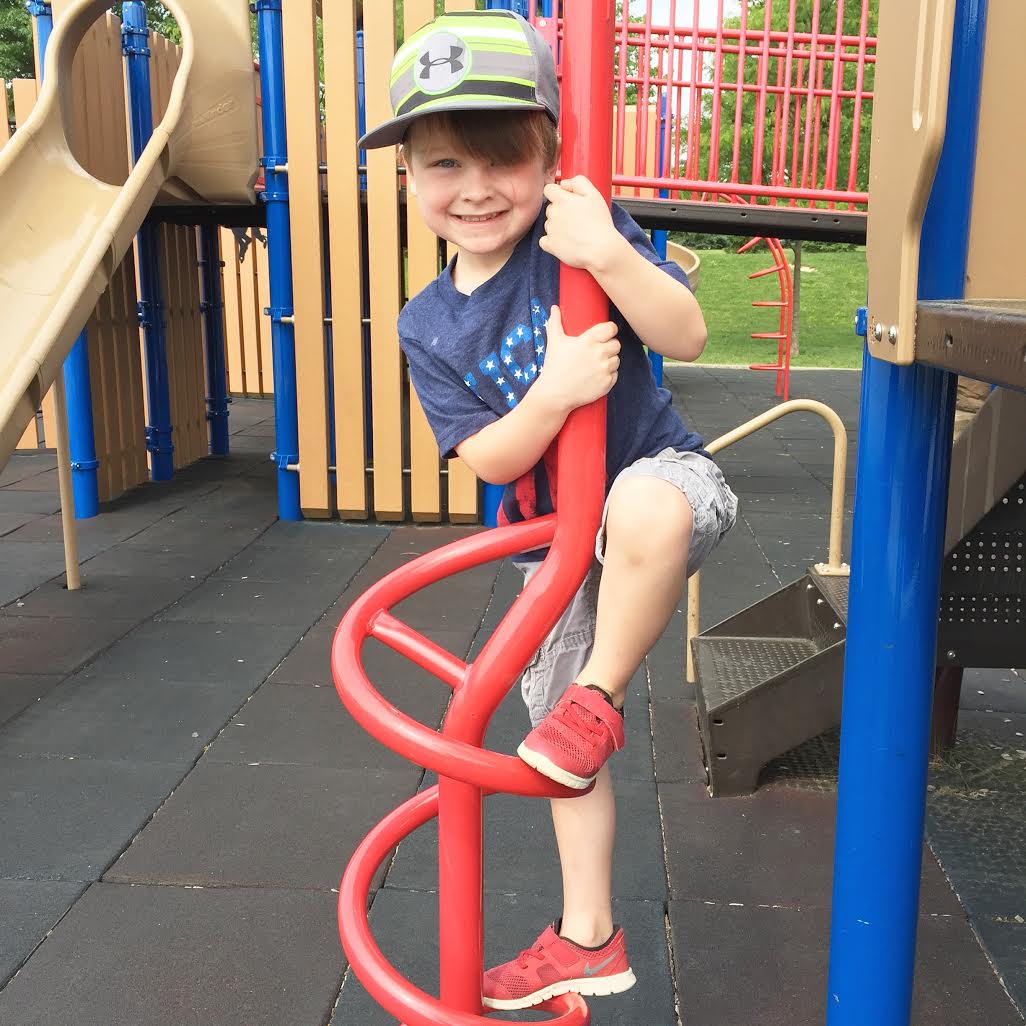
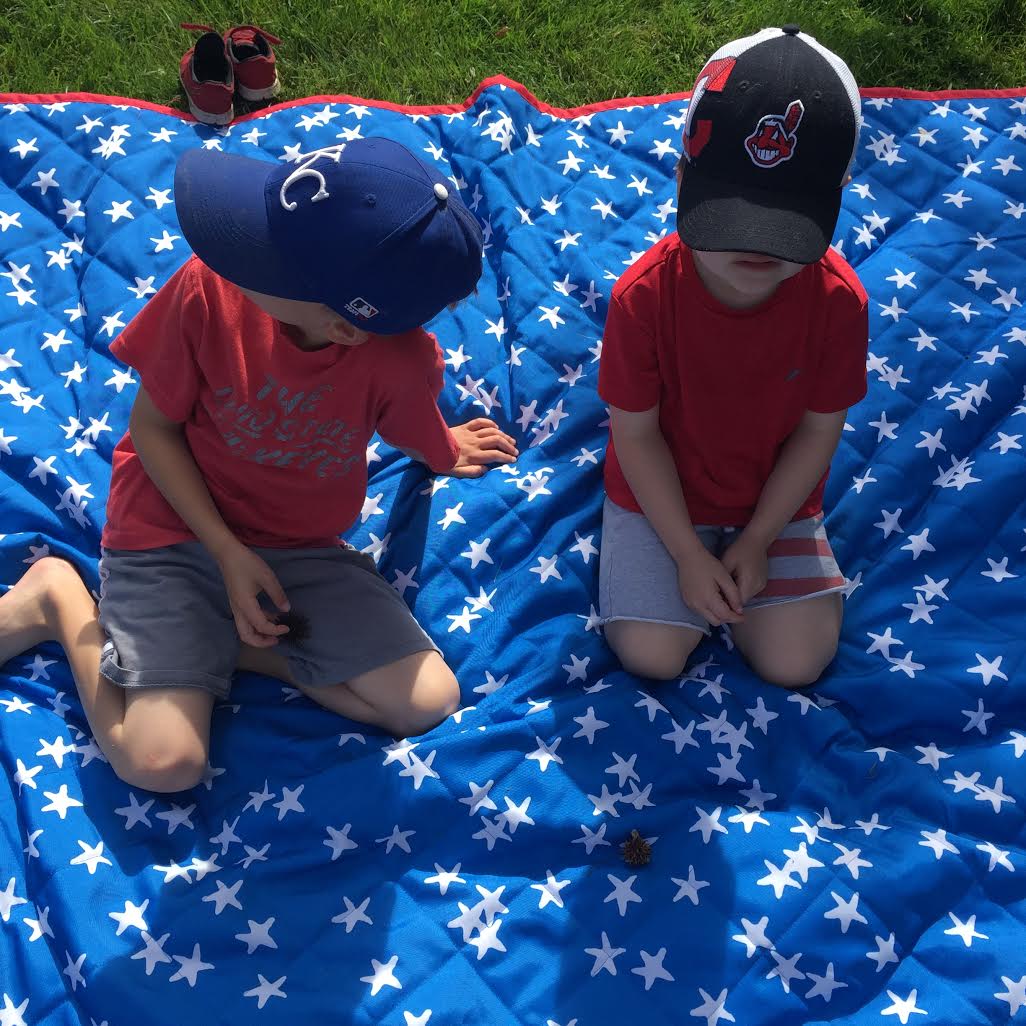
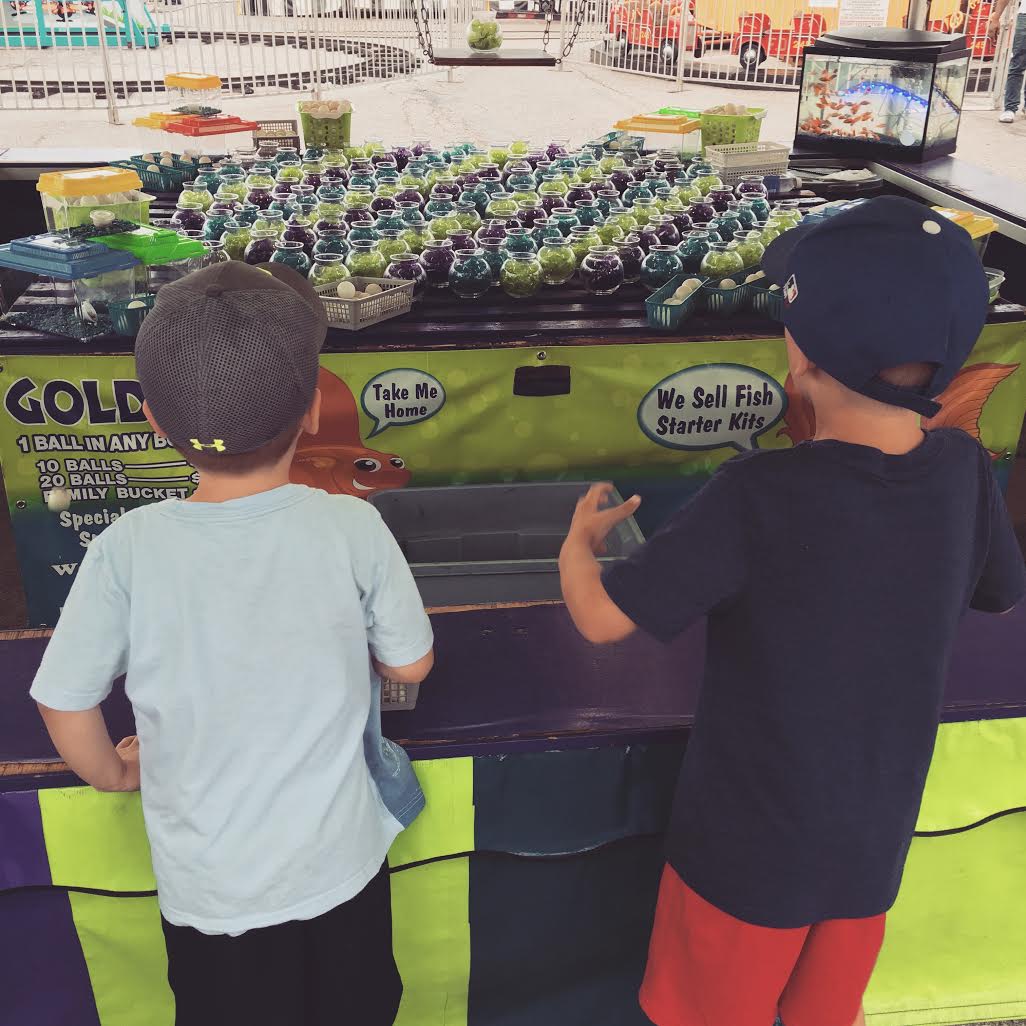
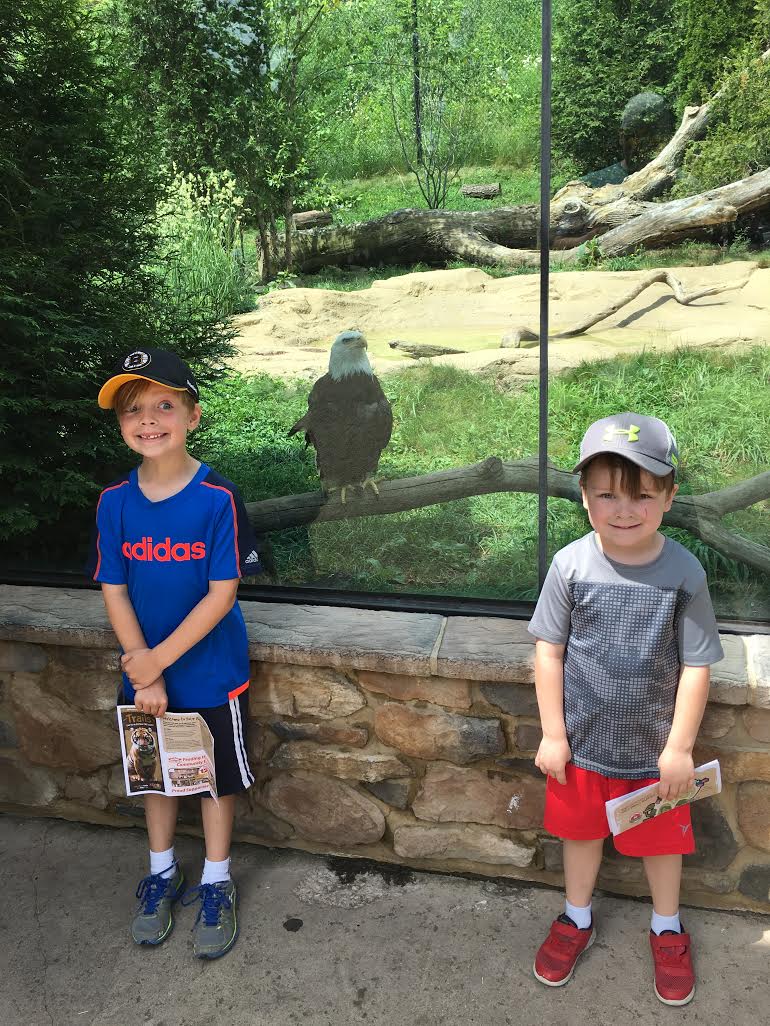
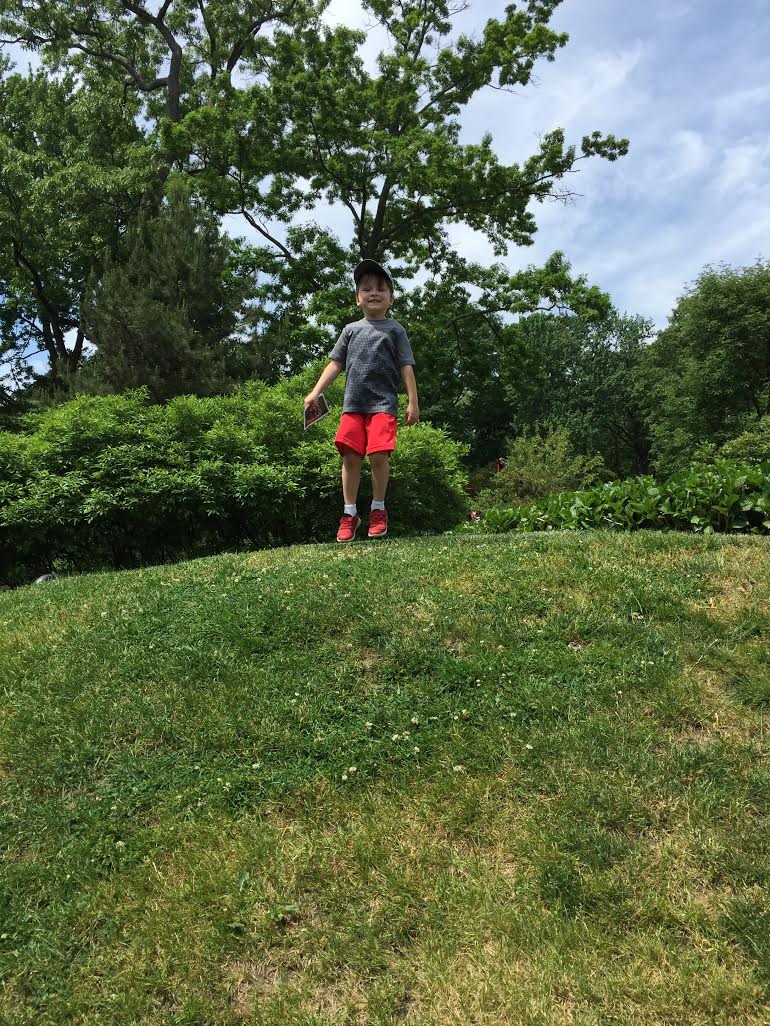
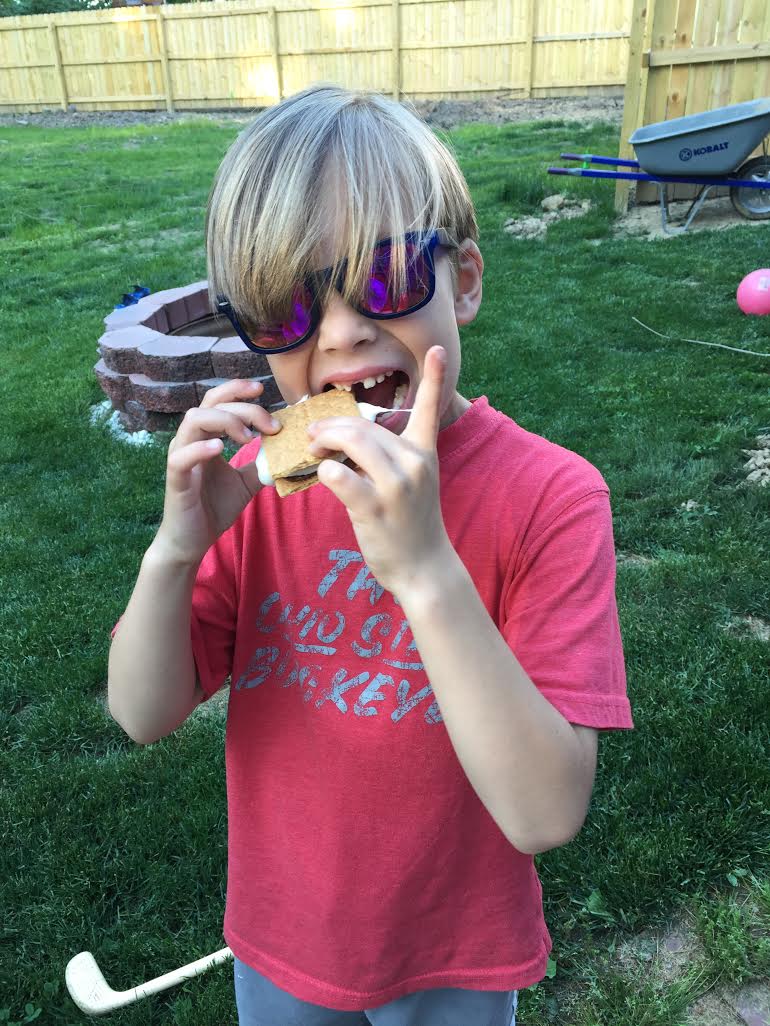
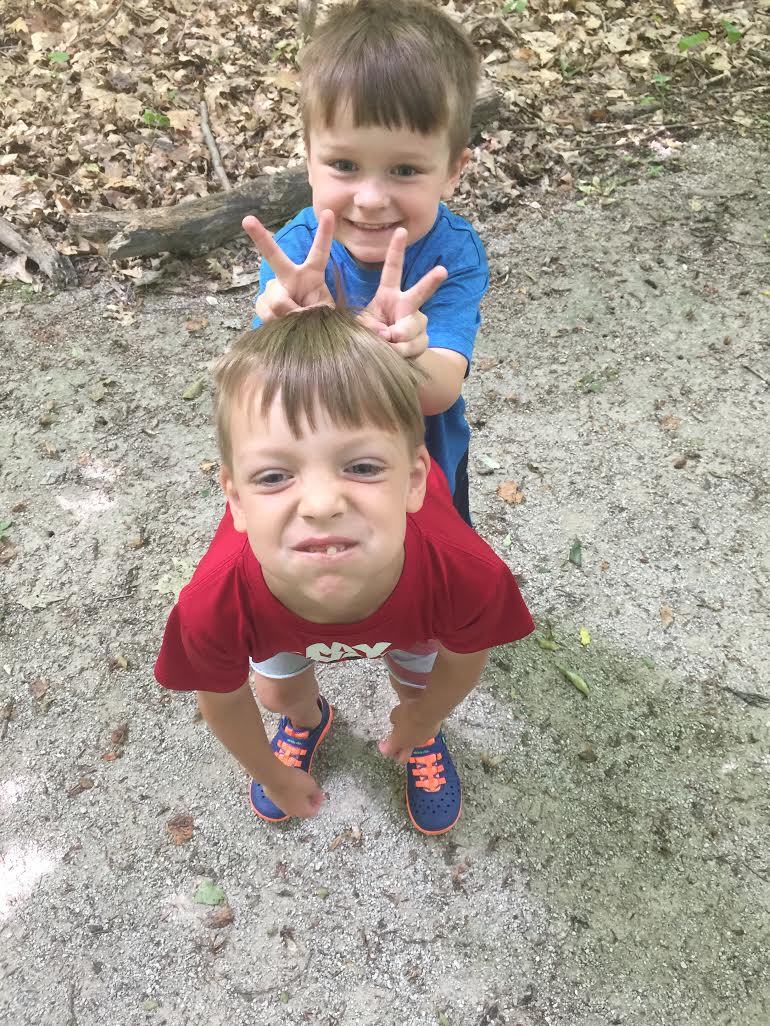
Here are some pictures of the boys and I from our playground day yesterday – so glad they love the outdoors as much as I.

unnamed-136

unnamed-140

unnamed-145

I texted Dan at this moment, telling him that if we life outside the entire stage of this fusiness I think we’ll be alright.  Maxi just adores the outdoors.

unnamed-144

unnamed-139

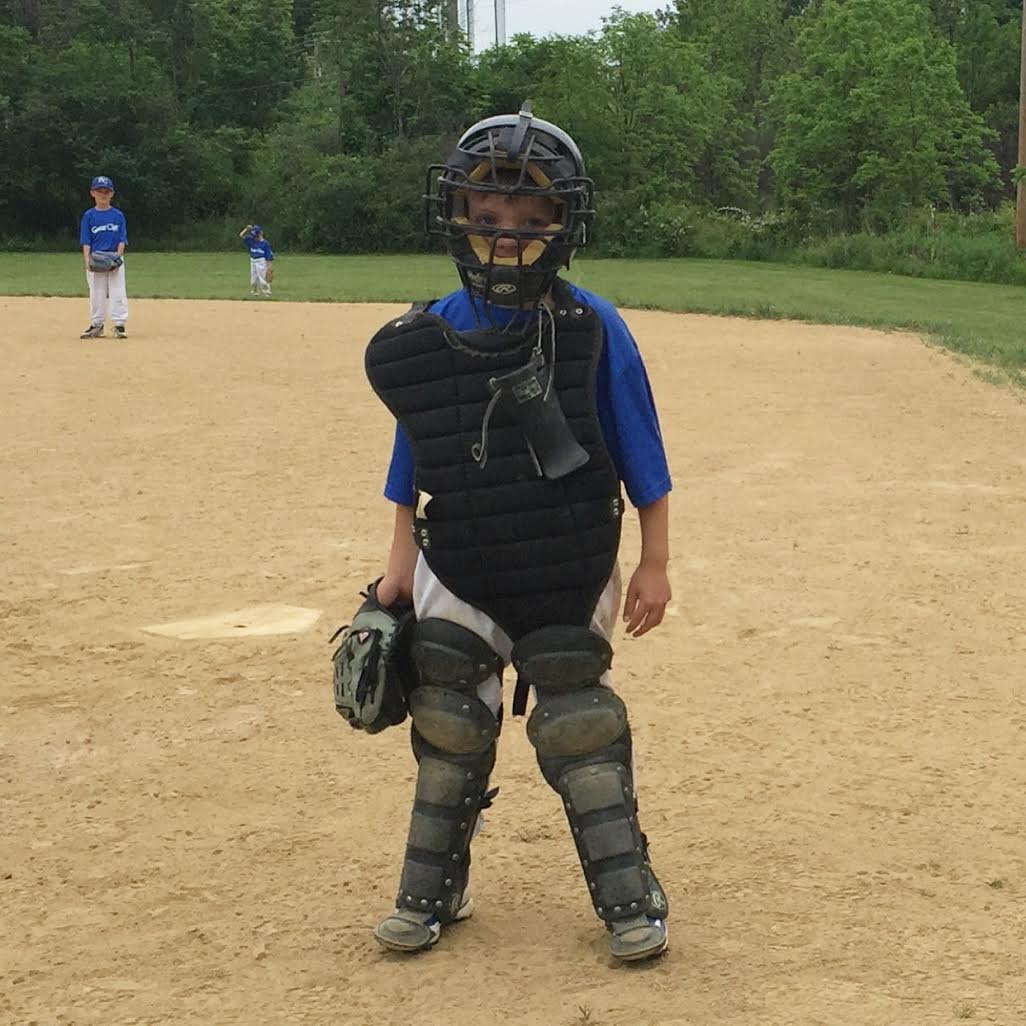
Brody and Owen have been amazing.  My mom saved the day yesterday by suprising me with a random afternoon visit and it was just what I needed.  An extra set of hands for Max.  He slept 2 1/2 hours on his GiGi’s chest and I was able to play with the boys and get so much done around the house.  It’s exactly what the doctor ordered.   So a big thanks to you Mama! xoxo

Filed Under: Our Life

Max is 1 month! And a Chalkworthy Giveaway!!

June 17, 2016 by Abby Thome

Max is 1 month! And a Chalkworthy Giveaway!!

Okay, I already lied.

 Max is nearly 7 weeks old, these pictures were at 6ish weeks.  Bad momma me has yet to take any “real” pictures.  Yep, a blogger not on top of her game.  Blogger? Who am I kidding – a momma with a newborn and two other kids to tend too, heck, if food is on the table and the kids teeth are brushed 90% of the time I feel like I have my shit together.

So I decided to stop telling myself “this weekend I’ll take really good newborn pictures” and just use my iphone and snap a few quick pictures while he was as happy as a clam in his crib.  I’ll do this each month, hopefully next month on time and take the pressure off of doing something more extravagant.  Because, let’s face it – we rolled around in the backseat of our parents cars as babies/toddlers and todays society has moms thinking we need to do it all and be it all.

So F* that.  Yep, I said it.  Let’s just do US.  Let’s just do what we can, when we can.

So, here’s Max in a diaper – with a few of the boys hot wheels cars to trace out the #1

And you know what, I love these pictures.

unnamed-124

A few facts about you Maxi.

Yes, we call you Maxi.  You’re daddy gets really angry when for some reason “Maxi Pad” rolls off of my tongue and I promise you each time I do I put soap in my mouth.

You just starting genuinely cracking smiles at 6 weeks – you lock eyes and just grin.  I think there are dimples like your daddy’s starting to come out with each ounce you gain.

Everyone who meets you thinks your oh so tiny.  But when you came home from the hospital at 6pd 4oz (you lost a few) you felt too tiny, and now at I think over 10 pounds you feel so chubby and I look shocked when people tell me that.  Like, “don’t you see how big he’s gotten?” Proud mama.

You have grown fussy over the past two weeks.  I call it, “finding your voice” which is a mother’s way of saying “I don’t know what else to do for you, and I don’t want to cry too, so let’s roll with it”

You sleep really good though – you go a 4-5 hour stretch at first, and then are up every 2 1/2 hours till we decide to get our butts out of bed.  I’ll take whatever I can get, I am a lady who cherishes sleep. ZzZzzzz….

You are an insane mix of Brody + Owen.  We cannot wait to see you grow and see who you resemble more.

You love to eat.  Oh boy, don’t we dare let you wake up and not have a bottle in your face within minutes.  We will hear about it.  Immediately and regret trying to test your patience.

You’re as sweet as the day is long.  Life with 3 is oh so good and far less chaotic than we were warned.  Sure, I get a lot less done in my day, bu there is something just so special about this newborn phase that I just won’t let roll away.  I am truly soaking up every ounce of your sweetness, because just once glimpse at your big brothers I know how that the hour-glass is glued to the table.

unnamed-127

To make your Friday even better, I’m hosting a Chalkworthy giveaway for everyone interested in trying out this amazing paint line!

Hop on over to my Instagram account to enter to win 2 fabulous kits!!

LilSampler_Allproducts copy Waxandtoolkit_Allproducts

Head on over to my  Instagram account, The Thome Home and enter to win the Sampler Kit and the Wax & Tool kit! 

Filed Under: Our Life

Shiplap Wall Tutorial with Chalkworthy

June 15, 2016 by Abby Thome

Shiplap Wall Tutorial with Chalkworthy

This is a sponsored post in collaboration with Chalkworthy.  Thank you for supporting the brands that support our blog! 

Shiplap walls are all the rage since Chip and Jo hit the scene revealing the incredible dimension and style shiplap brings to a room instantly!

If you’re an avid blog follower – or even glued to the boob tube watching any DIY network or HGTV shows, you’ve seen the rising trend of shiplap walls.  These wood planked walls are all the rage for all of the right reasons.  Shiplap walls add detail, dimension and undeniable style to a room that you just cannot beat.  No need for color added, white or wood makes such a bold statement all while remaining understated enough to compliment any decor.

I adore the lines, the depth of the wood, and the statement they make to any room.  When pregnant with Max we knew right away that we wanted an accent wall that was shiplap.  Without a doubt the crisp contrast of shiplap lines and the soft textures of the rugs and baby blankets had me oozing with excitement to get started.

And look at the results – A-MAZ-ING.

Shiplap Wall Tutorial

Shiplap Wall Tutorial, so easy to do in just an afternoon!

If you want to replicate this look in your home, you’re in luck! Our tutorial breaks it down into the simplest way, because let’s be honest – with 3 kiddos, if it’s not easy, it’s not getting done 1/2 the time.

Tools you will need:

ship lap wall tools

Tongue and Groove Pine Boards :: Nail Gun :: Spackling :: Sanding Sponge (or paper)

Rubber Mallet :: LEVEL :: Electric Hand Saw :: Chalkworthy Paint 

Let’s break it down into a few simple steps, and then I’ll show you the pictures to better understand

  • measure the wall(s) you will be placing the planks of wood on.  you’ll want to measure the length and the height of the wall.  Height of the wall will help you determine how many boards you will need to cover the entire wall.
  • The length of the wall will help you determine how long of boards you want to purchase.  Ours were 12 feet, and we knew wanted the boards staggered and would be cutting them into different lengths.  If you have lets say an 8 foot wall, you can keep the boards 8 feet the entire way across – you do not have to cut them (you may have to skim the ends dependant upon your room) Thankfully, cutting the 12 foot boards made it much simpler to carry up and down the stairs while cutting them! 🙂
  • We purchased the 12 foot boards, to be cut accordingly
  •  The boards are tongue and groove, which makes “clicking” each layer of boards together such a breeze! No need for nickles like most tutorials call for when using a raw edge.  These have the groove and establish that gorgeous line in between without the extra hassle!
  • you will need to find the studs in your wall, all the way across and all the way down to make it easy as you go.  we used a pencil and marked an X – and followed down the wall  so as we put up boards we remembered where to nail

Many walls are not even.  LESSON LEARNED.  It’s rare to find a perfectly even wall.

We decided that we would stagger the pieces in length.  Making ONE cut on each board, alternating ONE cut at 7 feet and the next board at 8 feet.  Leaving an end piece of 5 + 4.

We then started with the longer board ( 7 or 8 it doesn’t matter) making sure it is level before nailing it in, and starting at the TOP of the wall. You want the lip of the tongue and groove (where the next piece will click in) to be facing DOWN.  The flat edge to be the one facing towards the ceilng.

 Nail the end piece right next to it.  START AT THE TOP OF THE WALL – which will more than likely not be perfectly straight, so make sure your first board is perfectly level.  That’s so important! It takes 2 people to hold the boards and ensure it’s just right.

Oh! And of course we stepped outside the box.  We put our boards on backwards – so we have that extra groove line in the middle.  I wanted to see more details + more lines.  So, if you want just one line spaced between each board, make sure you have the middle running groove on the BACK, not facing the front!

Next board you start with opposite lengths, short piece first and then the long.  When clicking in the tongue and groove, use the help of a rubber mallet to pound the bottom edge upward if they need some encouragement!

It went like this …. all the way down the wall.  Keep in mind, you will have to cut some edges dependant upon how straight your wall is to make them fit correctly.  So you may have a bit to skim off of some ends.

__________ 7 feet _________ ______ 5 feet ______

_____ 4 feet _____ ____________ 8 feet ________

______ 5 feet _______ __________ 7 feet _______

____________ 8 feet _________ _____ 4 feet ____

Of course our action shots are night time shots (oy vey) life with kids, you tackle the projects whenever you can!

unnamed-123

You’ll use an abundant amount of nails to hold these gorgeous wooden planks up – so nail away.  No need to worry about the tiny holes, you’ll fill them in later!

Once you’ve moved all the way down the wall, you may have a smidge of space “uncovered”.  You can add a white piece of trim to the bottom of the board to hide any imperfections.

24120b23-6ee7-4f63-bc78-7eb3924d4761

Once you’ve completed your wall – it will look like this.  If you have outlets on the wall you are covering, make sure to measure accordingly and cut out that section on that specific plank of wood.  That’s the best part about putting together a ship lap wall, one board at a time so you can customize each piece as needed.  And the tongue and groove, oh you guys just wait – it is SO much easier than spacing regular planks of wood!

3b7ae8d9-2bc6-4d49-ab68-e02ec5e52aab

A gorgeous raw wood wall, just begging for some chalkworthy love! But be patient, you must spackle those itty bitty holes shut and sand them down.  Sand the spackle after it is 100% dry – and then take a DRY paper towel to make sure the wall is dust free and ready to paint!

And then the CHALKWORTHY paint of your choice –

We went with our favorite classic white linen.

WhiteLinenproductshotSM-356x356

We used 3 cans to cover the entire surface of the wall 2 times.  You must use a brush for this paint application – a roller would not cover all of the nooks and crannys.  Keep an eye out for drips in between the lines, always going back to ensure you have good coverage and no drips!

IMG_5199

I just cannot express enough how much we adore this feature wall.  The ease of putting it all together, along with the amazing touch of Chalkworthy paint.

So it’s really that easy.  Purchase all the tools/products you need.  Measure twice, cut once.  Start at the top.  Nail away.  Spackle.  Sand.  Paint.  And you’ve got yourself a gorgeous ship lap wall!

Shiplap Wall Tutorial for Nursery

Shiplap Wall Tutorial for Nursery

I know Max ( and mom and dad ) will be big fans of this room for years to come!

Filed Under: Our Projects

Landscaping Reveal with Ryobi Outdoor Products

June 10, 2016 by Abby Thome

Landscaping Reveal with Ryobi Outdoor Products

This post is sponsored in collaboration with Ryobi Outdoor Products.  A huge thank you to Ryobi and to our readers for supporting the brands that support our blog. 

For those of you that have been here a while, you know that our yard was/is a massive undertaking.  We’ve spent 2 years and thousands upon thousands of dollars to bring it to where it needs to be.  Currently I sit with Max on my right fussing away, and a loud landscaping crew excavating our front and backyard out AGAIN to replant grass seed.  We knew this was going to be done again, so we decided to jump start the process ourselves and get in touch with our favorite people @ Ryobi and discuss a potential collaboration for shaping up our disasterous front garden beds.

They were screaming for attention!

unnamed-109

Dan and his buddy built a gorgeous retaining wall – but inside – nothing but dirt and weeds.  It was time to address this space, and chose plants that will last over the years, providing the green contrast we were longing for to pop agaisnt the dark gray/blue of our house.

We knew we had to bring back our love for hydrangea at this house, here are a few of our inspiration pictures

ryobi plants 2

Shopping for the plants was so much fun with the kids.  They spent hours racing up and down the aisles, while Dan and I chatted away with the workers trying to figure out the best plants for our yard.

ryobi plants 1

Boxwoods were top on our list – a shrub that will stay green throughout the year, can be shaped easily with the amazing Ryobi Hedgers    The double play gold plants were a last minute choice, while they were pricey ($50 a pop) they offered the brighter green contrast, along with a darling pink bloom that will give the border a bit more color during the spring/summer months without having to plant flowers.  (saves us $$ in the long run!)

unnamed-109

The ground was ridiculously tough + packed with debris.  We turned to the Ryobi Cultivator  to turn over the soil and break everything up.  We also had a blast using a much larger Pressure Washer to tackle our filthy sidewalk.  We were in absolute outdoor tool heaven!

unnamed-20

unnamed-19The pressure washer was unbelievable, and super addicting.  Something about washing the filth off of something and seeing immediate results makes me want to do it all day, everyday.

Dan swept through the entire area with ease, it broke through the ground and turned fresh soil up for us to utilize.

unnamed-18

 This is a quick look at the surface area we had to fill with the new plants ryobi plants 3

The new plants put our curb appeal up 100 knotches! With the front yard being seeded today, I know that we officially have the look we have been aiming for since we moved in.  Ryobi Outdoors always helps to make these outdoor projects so much easier and efficient!

IMG_5393

Like all good things, these plants will take time to grow to the size we would prefer them to be.  In the mean time we are watering them and treating them with extra TLC so we can have the full plush bushes we are longing for.

IMG_5394

I love the contrast between the boxwoods + the double play gold shrubs.
IMG_5399

I adore this retaining wall, and now with the  plants nesting inside – it really pulls our front yard together.

IMG_5397

The tools we used and adore –

ryobi tools

Pressure Washer :: String Trimmers :: Hedgers 

With fathers day right around the bend, a few of these tools would be the ultimate power tool treat for the dad in your life!

Hop on over to my Instagram account HERE ( find me at TheThomeHome)  to enter to win the new 18V ONE+ LITHIUM+ CORDLESS STRING TRIMMER/EDGER

Goodluck!!

Filed Under: Our Projects

This is the last time …

June 9, 2016 by Abby Thome

This is the last time …

unnamed-120

You guys, this yard will be the death of us.  Call us a damsels in distress – the front and backyard of our house leaves me wishing I was locked in a tower and never had to come down and face these spaces.

unnamed-121

We had the entire yard excavated last year – and seed planted.  Fantastic right? Well, add-on more land when we put in a privacy fence and we were left with even more trees to take down, which in turn tore our entire yard up all over again.  I think I mentioned it to Dan at least 100x “I can’t believe we have to do this all over again… the money, the madness!!” But he reassured me, this was the last time.  There was not a single tree left that needed to be taken down, this year the yard(S) would be taken care of 110% and there will be NOTHING left to do.

Okay okay, let’s do this.  One last time.

There were a lot of plans we bounced back and forth on, and we knew at the end of the day every last drop of what needed to get done, HAD to be done.  Or else we would be in the same position next year, and the next … you get the point.

#1 Irrigation.

#2 Completely level (correctly) the front + backyard

#3 Mulch bed in back right corner for future shed (more on that to come!)

#4 And the final promise that after this, we would be completely done with yard work.  Well the stuff that costs thousands 🙂

I sit here, day 2 of the crew being at our house and feeling SO relieved that we are spending the money on re-doing the yard yet again.  We went with a new company, which has us realizing what a half a$$ job the other company did last year.  We have brand new irrigation sprinklers put in the front and the backyard this time around, so that the new grass will actually grow + we don’t have to pull 10 hoses across the freshly planted seed.  The guys are doing an amazing job and we are hours away from the seed and hay being laid down!

unnamed-119

It’s like our yard got the best brazilian wax done of all time.

unnamed-115

Our yard seems 10x bigger with the new fence and this fresh slate – I have a feeling the boys will be very happy that mom + dad tackled this in the near future.

unnamed-116

If I didn’t have a fussy baby on my hands I would watch these guys work all day long.  They are insanely committed to doing the job right for us.

unnamed-122

Sorry boys, another summer to tough out without grass to play on.  But, I promise you’ll have one rocking yard to spend endless hours in next year!

Oh! And we have a reveal tomorrow of our garden beds we collaborated on with the amazing Ryobi Outdoor Products. Plus a GIVEAWAY! Check back in tomorrow for all of the details and pictures!

Filed Under: Our Life

Week 01 Summer Break

June 6, 2016 by Abby Thome

Week 01 Summer Break

We’ve got week 1 of summer vacation in the books!

I think it would be fun each sunday night to sit down and just bombard you guys with a few pictures from our week.  Because, let’s face it – summer will fly by.

unnamed-105

Writing down a few summer goals is always a good idea.   A sweet reminder to stop and let the bees sting you in the foot and enjoy that summer air.  We’ve got the lemonade stand checked off, the zoo, s’mores, ice-cream truck and the fair knocked out in week ONE.

Whoops, we may be erasing this board and adding more each month.

unnamed-102

Our town is just littered with playgrounds.  It’s mind boggling + such a blessing since our front and backyard are being torn out and fixed TODAY.  It’ll be such a long summer without grass to play on, but extra grateful to live in a place where there are SO many places to explore.

unnamed-101

unnamed-109

DJ worked a ridiculous amount of hours putting our landscaping together for an amazing collaboration we did with Ryobi.  It’ll be coming at ya’ this week 🙂  But seriously, Dan is unreal.  Recently promoted at work, working like a  wild thang, comes home and tackles school work – and then NEVER, and I mean never skips a beat on house projects.  Workin’ 9-5 is not something he is familiar with … he works around the clock.

Someone hand the man a drink –

unnamed-82

Oh wait, I do. (Look at teeny tiny one week old Max!) He’s so much bigger already –

unnamed-100

Look at his mohawk! We thought Owen was going to be the only lucky babe the rock that fresh out of the womb, and then swooped in his blondie brother with the tidal wave too.  Love it.

unnamed-98

Memorial Day parade was fun, as always.  Gorgeous weather makes everything better.

unnamed-106

This babe LOVES the outdoors – soothes any fuss he’s got in his bones immediately upon opening a door and the breeze sweeping his sweet little bod.

unnamed-104

Baseball is in full swing – and Brody loves every ounce of it.

unnamed-108

Yesterday morning I left these studs in bed, and ran to the grocery store dropping $$$ on delicious fresh food to cook for the week.  5 weeks of on and off ordering in after baby is not something we want to continue.

Of course I grocery shop on the week we are re-doing our kitchen countertops (another Giani countertop, just switching up the style a bit!)

  Oy.  We’ll make it work!

unnamed-111

$15 made on that memorial day lemonade stand, well done boys.

unnamed

The fair that took $40 of our money on games that resulted in zero fish being brought home.  We could have went to the store and bought a tank and 18 goldfish.

unnamed-112

Zoo day, exploring a new one that isn’t half as good as the Cleveland Zoo but twice as close so it’ll do for this summer with a teeny brother to stroll around with.

unnamed-107

unnamed-103

Rounding out the week with this chub who is gaining weight like a champ, and never lets mom miss a feeding every 2 – 3 hours each and every night.

Don’t worry Max, I feel ya – food for life.

 Looking back at the week I cannot believe how much we did, these little people sure know how to fill up the day with adventure!

Filed Under: Our Life

Candy Covered S’mores

May 31, 2016 by Abby Thome

Candy Covered S’mores

Summer time is finally here! And of course, in true Cleveland style – it went from being 50* to 90* and humid.  We can’t complain, the few short months of warm weather we get to enjoy we plan to live it up.  We kicked off memorial day weekend with Owen having a high fever and sore throat, and ended it with Brody falling into the trap.  So we hung at home most of the time, tossed in an adorable lemonade stand yesterday and finished the night off with a sweet treat.

S’mores are a summer classic – really what’s a summer party or gathering without them? They are truly a staple and so simple to whip together in a large group, requiring nothing but a blaze to get desert on the table.  Yesterday I decided to kick them up a knotch – You’ve seen them done when folks smash a giant reese cup in the middle, and I thought, how can we make this better?

Here’s the answer

IMG_5361

 Candy Coated S’mores!

Such a fan way to jazz up the classic snack!

IMG_5356

Take any candy you like, I chose a few candy bars and of course mini m&m’s I knew the kiddos would love…

IMG_5364

Melt chocolate chips (I use semi-sweet and milk chocolate mixed) And simply spoon + spread onto the graham crackers

Take your chopped candy bar pieces and sprinkle on top!

IMG_5365

These were such a hit – for the second half of the S’more we just used a plain piece, but if you’re feeling frisky double them up and create any combination you’d like!

IMG_5370

There was something SO good about not having a huge hunk of the Hershey chocolate – the spread melted just right and the candy bars started to as well once the hot marshmallow hit them.  Oh, and don’t get my started on the twix – that caramel in between, Oh baby.

IMG_5366

You can make all of these in advance and your guests can just assemble as they wish

IMG_5368

I just tossed them onto a tray with a bowl of marshmallows –

IMG_5392

Let the chocolate harden before you line them up and serve.  The best is storing the left overs over the next few days in an airtight container for further S’more action 🙂

unnamed-96

Filed Under: Our Bites

The Great Wayfair Cake Off

May 25, 2016 by Abby Thome

The Great Wayfair Cake Off

unnamed-91

This is a sponsored post in collaboration with the one and only Wayfair.  

Let’s eat CAKE!

Who has to be asked to make cake? Not this girl.  Even at 2 weeks post baby, when I saw this campaign in my inbox I knew I had to jump on the opportunity to showcase one of our favorite summer cakes in the Thome home!

Wayfair  has some of the cutest cake stands ever, I dare you to check them out and not put them in your shopping cart! Take a look HERE 

And if you are in need of cake pans, they’ve got such a fun variety – take a look HERE 

Summer gatherings are at the top of our to-do list with the warm weather rolling in.  Summer desserts are so much more enjoyable when you focus on showcasing fresh fruit with them.  It not only takes a cake to another level, it lightens it up and brightens the entire thing.  Helping to end a dinner on a sweet, but lighter note.

IMG_5298

There she is, our favorite summer cake.  A delicious moist vanilla cake, layered with scratch made whipped cream and your choice of seasonal berries (strawberries + blueberries for us!)

Not only is this cake a cinch to put together, it is a total showstopper with its height and color!

IMG_5299

Layered Vanilla Cake with Berries + Whipped Cream
Author: Abby Thome
Ingredients
  • 2 1/4 cup unbleached all purpose flour
  • 2 tsp baking powder
  • 2 tsp baking soda
  • pinch of salt
  • 2 cups water
  • 2 cups sugar
  • 6 Tbsp butter, cubed
  • 2 Tbsp vegetable oil
  • 1 Tbsp vanilla
  • 2 large eggs
  • 1 pint heavy whipping cream
  • 1 tsp vanilla
  • few tablespoons of powdered sugar
  • sliced strawberries
  • blueberries
Instructions
  1. Here we go!
  2. Take a metal bowl and place it in the freezer before you start, letting the bowl get nice and cold for your whipped cream making later!
  3. Pre heat the oven to 350*
  4. Butter + lightly flour 2 – 8 inch cake pans and set aside
  5. In a medium sauce pan, over medium-low heat, dissolve the sugar in the water. Once dissolved, turn off heat and add the butter, stirring until melted. Once melted, pour into a seperate mixing bowl and set in the fridge to cool for 20 minutes.
  6. In the mean time, whisk together all of your dry ingredients.
  7. After the 20 minutes is up, take out the sugar/butter/water mixture and add to it the vegetable oil, vanilla and eggs.
  8. Mix the dry ingredients into the wet, stirring until incorporated.
  9. Bake at 350* for 20 minutes or until toothpick comes our clean once inserted
  10. Let cool completely before removing from pans
  11. Once the cakes have cooled, and removed from the pans – it’s time to make the whipped cream and assemble!
  12. Take the ice cold bowl out of your freezer and get your handheld mixer.
  13. Simply pour the entire pint of heavy whipping cream into the bowl and get mixing. About 4-5 miuntes in you will notice the cream getting thicker and thicker. ADD up to 4-6 tablespoons of powdered sugar and a tsp of vanilla. Mix until you form a thick whipped cream.
  14. NOW – assembly, super easy guys!
  15. Place one layer of cake down — decorate with berries, and spoon large dollops of whipped cream over top. Smooth it out. Place second layer of cake on, repeat berries and whipped cream. And decorate the top with berries however you’d like!
  16. Place cake in fridge if you are serving at a later hour – or serve right away.
  17. Ours stayed fresh for days in the fridge!
3.5.3208

A few shots of the process —

IMG_5291

Let the cake cool while you make the whipped cream

IMG_5292

Once cooled, layer to your heart is about to burst with excitement

IMG_5295

There is no such thing as too much whipped cream.  EVER.

IMG_5297

If you can contain your taste buds and let it sit in the fridge, do so – but how easy is this to have for a dinner party.  Make everything in advance and layer together when your ready to serve? Whoa Martha – slow down.

IMG_5306

Do you have a favorite cake to make for summer?  I have a feeling this will be making another appearance at a family party this holiday weekend!

vanilla cake recipe barely adapted from : thenovicechefblog

Filed Under: Our Bites

Owlet Baby Monitor Review

May 23, 2016 by Abby Thome

Owlet Baby Monitor Review

This is a sponsored post in collaboration with Owlet :: The link attached is an affiliate link meaning The Thome Home will receive a small commission for purchases made.  We thank the brands who work with us and our readers who support their shops as well! 
IMG_5339

Sleep deprived and running on empty.

 Elated and just infatuated with your newest addition.

 It’s both sides to the story that we as parents know to be true.  The brain fog runs so deep – waking up numerous times a night for feedings and diaper changes.  During the day you muster up the energy to keep up with your house – the kids, and well – basic functions like showering and going to the bathroom.

It is a time of pure bliss and endless exhaustion.

While the day time throws a multitude of challenges your way with a newborn, night-time often becomes to most talked about between new parents.  It’s the hours that everyone thinks that they are prepared for, waking up all night long for feedings, sure we’ve got this – right?

  You spend 10 long months preparing for baby, putting together the nursery, reading books, and preparing for labor.  And then, this teeny tiny fragile infant is handed to you at the hospital and bed time arrives.  You’re exhausted, every ounce of you is in need of sleep.  And then you find yourself up all night staring at this beautiful bundle of joy you brought into the world.  You keep checking to see if they are breathing okay, time and time again.

Insert all the nights to follow –

Getting a good nights sleep goes straight out the window.  If you are a baby watcher like I am, just kiss it goodbye.  I cannot tell you how many nights I spent after feedings watching Max fall asleep checking his breathing.  Only to finally fall fast asleep and be awoken by self-doubt, checking on him again and again.  The bags under my eyes got bigger, the yawns got deeper during the day and I dreaded trying to keep up throughout the night to keep a very attentive watchful eye.

Until, the Owlet Baby Monitor. 

IMG_5309

The Owlet Baby Monitor, I believe will become a nursery essential.  Every new parent has a video monitor to watch their baby sleep.  But, really, what good will it do if you’re not watching it? The Owlet Baby Monitor brings complete peace of mind to your night with your baby.

How does it work?

IMG_5313

This sweet little comfortable sock fits onto your baby’s foot.  This tiny little addition keeps watch of your little ones heart rate and oxygen level throughout the night.  Alerting you if he/she stops breathing, or if their levels fall or go to high.  The same technology you see in the hospitals,  pulse oximetry to keep tabs on your precious peanut.

IMG_5316

The sock is wireless, and then you plug in this independent station that will alert you if something isn’t right.  (via noise + lights) You can also download an app so you are alerted on your phone as well.  Giving you the ability to check your baby’s live vitals anywhere you are.

IMG_5332

I cannot even begin to describe the peace of mind I have knowing that this monitor is up all night with Max.  You truly cannot put a price tag on his safety.  How I wish I had this monitor through all of Owens respiratory illnesses when he was a baby, it really would have brought us so much clarity and confidence to sleep soundly at night.

IMG_5335

On  a newborns foot, the monitor is placed on the underneath of his/her foot.  It is comfortable, and can be worn underneath footed pajamas as well.  Max was not phased by the sock at all, which brought us even more joy.

The sock will fit most babies up until the age of 18 months old –

Nothing beats being able to lay down at night, and rest assured that this Owlet Monitor is covering bases that we simply can not throughout his sleep.

IMG_5347

If you’re expecting, or have a little one now, adding this Owlet Monitor to your nighttime routine is a fantastic way to bring you the peace of mind, and rest you need as a new parent.

Owlet was SO gracious to offer The Thome Home readers a $20 promo offer so that you can bring this monitor into your home!

Click HERE for your $20 off your new monitor! 

This would be the perfect baby shower present for a mother-to-be.  Nothing beats the peace of mind a new mommy would have with Owlet.

Filed Under: Our Life

Meet Max!

May 5, 2016 by Abby Thome

Meet Max!

unnamed-84

With the fullest hearts we welcome Maxwell John-Joseph Thome into our family!

5/1/2016

6 pounds 13 ounces

20 inches long 

Max is a dream boat, and we are so thankful for all of your well wishes.

He is a total split of Brody + Owen and a head full of dirty blonde hair.  The big brothers are completely smitten, helping any way they can. 

 The blog will be quiet for a bit while this momma recovers and gets back into the swing of things.  Until then, enjoy looking at our archives (over 5 years of fun content, located on the left of this page) – next week I’ll be sharing his birth story and more pictures! 

xoxo Abby

Filed Under: Our Life

  • « Previous Page
  • 1
  • …
  • 23
  • 24
  • 25
  • 26
  • 27
  • …
  • 67
  • Next Page »

LETS BE SOCIAL

  • Email
  • Facebook
  • Instagram
  • Pinterest

Articles

Categories

Archives

Heinens

Visit The Thome Home 's profile on Pinterest.

Recent Posts

  • Pork Schnitzel
  • It’s time to book your vacation with Oasis Vacations!
  • Oasis Vacations at Ocean Isle Beach, North Carolina
  • JUS-ROL Crescents
  • Back to School Safely
  • Chicken Tender Charcuterie Board
  • Lillie’s Q Spicy Cheddar Sausage Pizza Bagel
  • Max’s Bedroom

Copyright © 2025 · Tasteful theme by Restored 316